Introduction
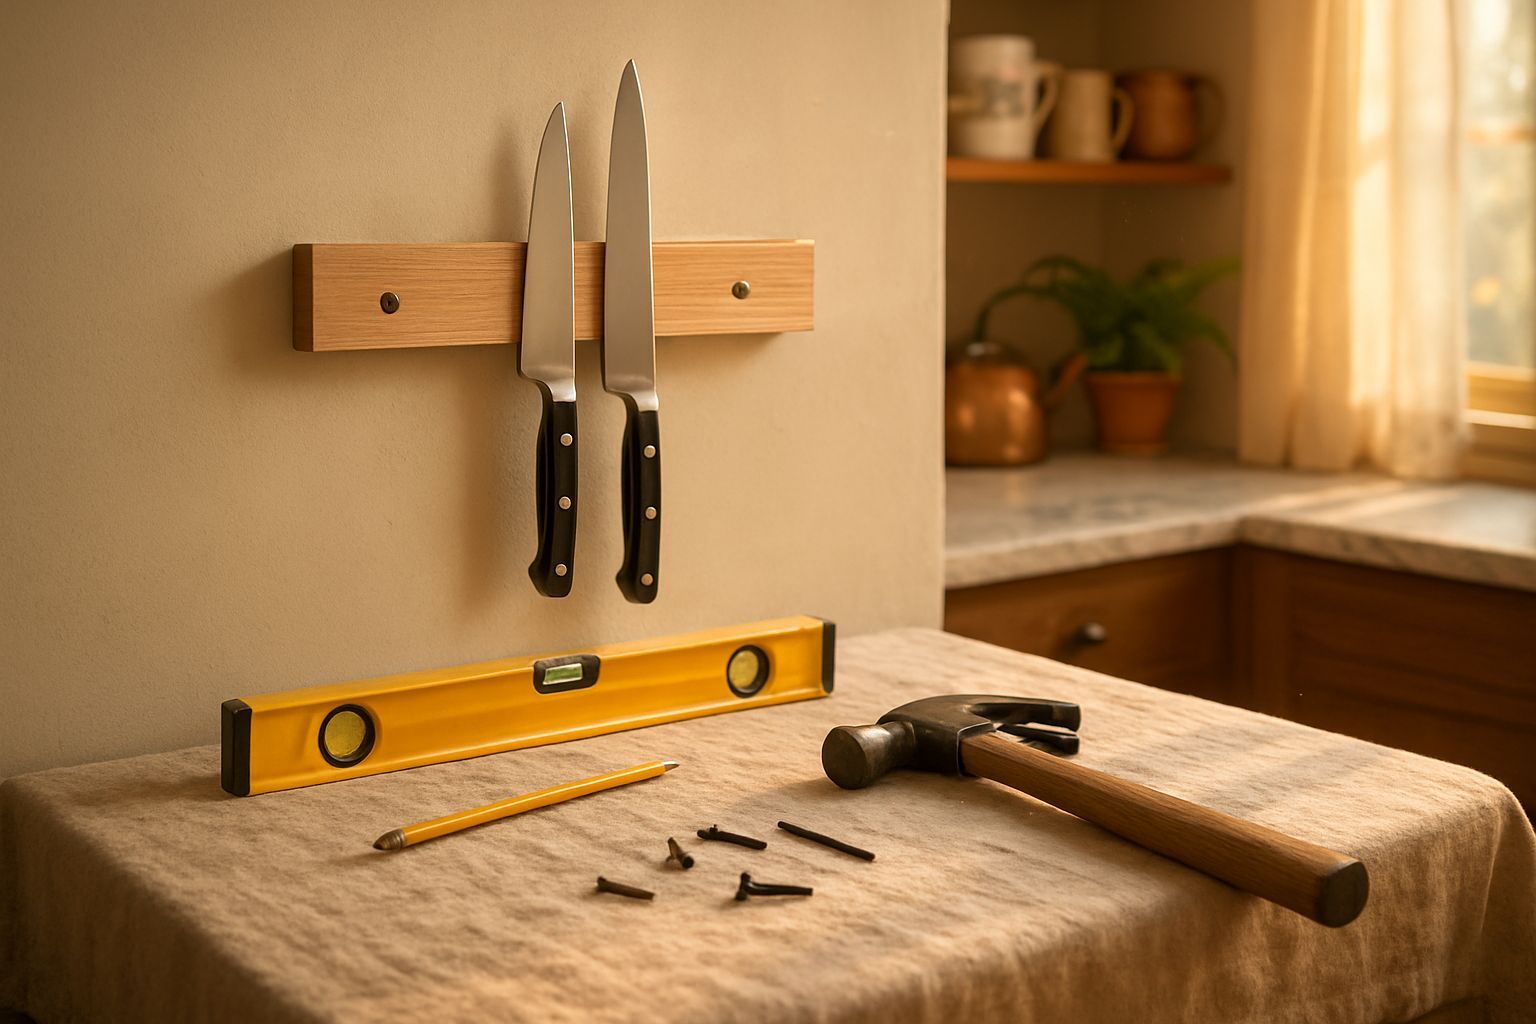
A magnetic wall-mounted knife rack is a stylish and practical solution for keeping your knives organized and within reach. Not only does it save counter space, but it also adds a modern touch to your kitchen decor. Installing one is a simple DIY project that can be completed in under an hour. In this guide, we’ll walk you through the process step by step, from gathering materials to final installation.
Materials Needed
- A magnetic knife rack (with mounting hardware)
- Measuring tape
- Pencil
- Level
- Drill with appropriate drill bits
- Screws (if not included with the rack)
- Wall anchors (if mounting on drywall)
- Stud finder (optional but recommended)
Preparation Steps
Step 1: Choose the Right Location
Before you start, decide where you want to mount the knife rack. It should be within easy reach but out of the way of high-traffic areas. Avoid placing it near the stove or sink where moisture could damage the rack or the knives. Use a level to ensure the rack will hang straight.
Step 2: Mark the Mounting Points
Hold the knife rack against the wall and use a pencil to mark the screw holes. If the rack has multiple mounting points, use a level to ensure they’re aligned. If you’re mounting on drywall, consider using a stud finder to locate a stud for extra stability.
Assembly
Step 3: Drill Pilot Holes
Using the appropriate drill bit for your wall type (wood, drywall, etc.), drill pilot holes at the marked locations. If you’re mounting on drywall, insert wall anchors into the holes to provide extra support for the screws.
Step 4: Secure the Rack to the Wall
Align the knife rack with the pilot holes and insert the screws. Tighten them securely but avoid overtightening, which could strip the screws or damage the wall. Once the rack is firmly in place, test its stability by gently tugging on it.
Mistakes to Avoid
1. Skipping the level: An uneven rack will look unprofessional and may cause knives to slide off. Always double-check with a level before drilling.
2. Ignoring wall type: Drywall requires anchors, while wood or brick may not. Using the wrong hardware can lead to a weak or unstable mount.
3. Overloading the rack: While magnetic racks are sturdy, avoid hanging too many heavy knives, which could cause the rack to pull away from the wall over time.
Pro Tips
1. Use a stud finder: Mounting into a stud provides the strongest hold, especially for heavier racks.
2. Pre-drill holes: This prevents the rack from shifting while you’re screwing it in.
3. Keep knives sharp: A sharp knife will stick better to the magnetic surface, reducing the risk of slipping.
4. Regularly clean the magnets: Dust and debris can weaken the magnetic hold over time.
Conclusion
Installing a magnetic wall-mounted knife rack is a quick and easy project that can transform your kitchen’s organization and aesthetics. By following these steps and avoiding common mistakes, you’ll have a functional and stylish knife storage solution in no time. Whether you’re a seasoned DIYer or a beginner, this project is a great way to enhance your kitchen’s efficiency and safety.