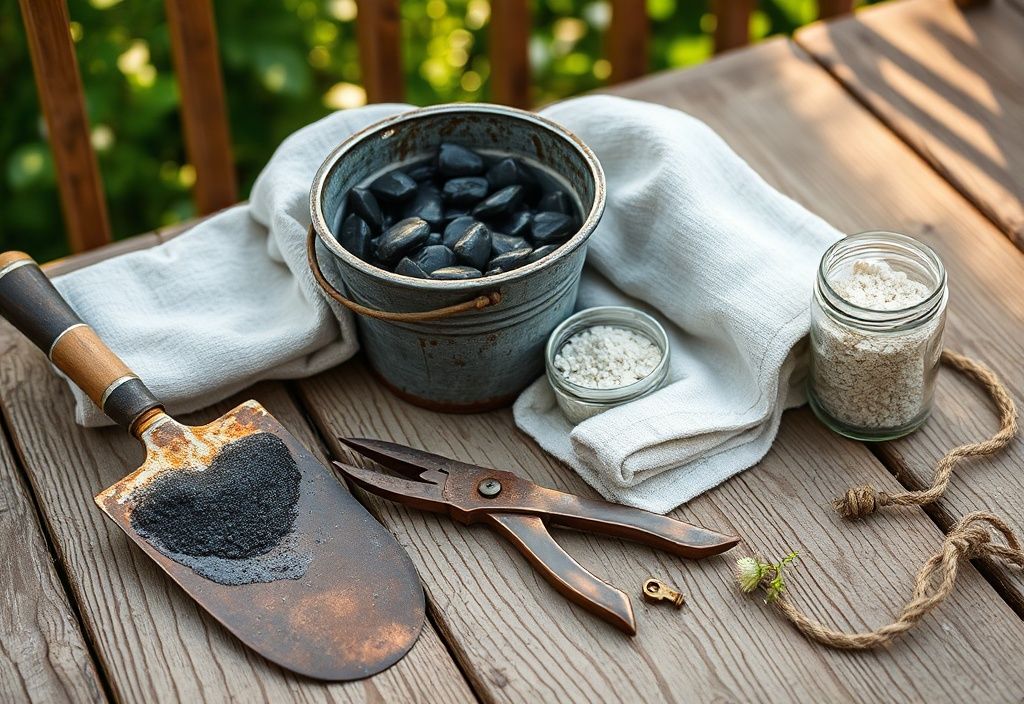
Gardening is a rewarding activity, but maintaining your tools is just as important as using them. Over time, soil, sap, and grease build up on your garden tools, leading to rust, corrosion, and reduced efficiency. Degreasing your tools not only extends their lifespan but also ensures they work effectively every time you use them. In this guide, we’ll walk you through the best methods to degrease your garden tools, the materials you’ll need, and pro tips to keep them in pristine condition.
Materials Needed
- White vinegar (a natural degreaser)
- Baking soda (for scrubbing and deodorizing)
- Dish soap (mild degreaser)
- Steel wool or wire brush (for scrubbing off grime)
- Sandpaper (to remove rust and smooth surfaces)
- Mineral spirits or turpentine (for tough grease and oil stains)
- Rubber gloves (to protect your hands)
- Old cloths or rags (for wiping and polishing)
- Vegetable oil or WD-40 (to protect metal after cleaning)
- Bucket or large container (for soaking)
- Water (for rinsing)
Preparation Steps
Step 1: Gather Your Tools
Before you start, collect all the garden tools you need to degrease. This includes pruners, shears, shovels, hoes, trowels, and any other metal or wooden tools that may have accumulated dirt and grease. Lay them out on a flat surface where you have enough space to work comfortably.
Step 2: Remove Loose Dirt and Debris
Use a stiff brush or steel wool to remove any loose soil, mud, or plant debris from the tools. This step is crucial because it prevents dirt from mixing with your degreasing solution, making the cleaning process more effective. Scrub both the metal and wooden parts thoroughly, paying attention to crevices and hard-to-reach areas.
Assembly
Step 3: Degrease with Vinegar and Baking Soda
For a natural and effective degreasing method, mix equal parts of white vinegar and warm water in a bucket or large container. Soak the tools in this solution for about 15 to 30 minutes. Vinegar’s acidity helps break down grease and rust. After soaking, remove the tools and sprinkle baking soda directly onto any stubborn grease spots. Use a wire brush or steel wool to scrub the tools thoroughly. The baking soda acts as a gentle abrasive that removes grime without damaging the metal surface.
For tools with heavy grease buildup, such as pruning shears or shovels used in oily soil, you may need a stronger solution. In this case, use mineral spirits or turpentine. Pour a small amount onto a cloth and rub it onto the greasy areas. Be sure to work in a well-ventilated area and wear rubber gloves to protect your skin. Mineral spirits evaporate quickly and leave no residue, making them ideal for degreasing metal tools.
Step 4: Rinse and Dry
After degreasing, rinse the tools thoroughly with clean water to remove any leftover cleaning solution. Pat them dry with an old towel or cloth. It’s important to dry the tools completely to prevent rust from forming. For extra protection, you can wipe the metal parts with a light coat of vegetable oil or spray them with WD-40. This creates a barrier that prevents moisture from causing rust.
For wooden handles, apply a thin layer of linseed oil or boiled linseed oil after cleaning. This helps to condition the wood, preventing it from drying out and cracking over time.
Mistakes to Avoid
- Using harsh chemicals without protection: Always wear gloves and work in a ventilated area when using strong degreasers like mineral spirits.
- Soaking wooden tools in water: Wooden handles can absorb water, leading to swelling and cracking. Always dry them immediately after cleaning.
- Skipping the drying step: Leaving tools wet, especially metal ones, can lead to rust. Always dry them thoroughly before storing.
- Using steel wool on delicate surfaces: Steel wool can scratch softer metals like aluminum. Use a softer brush for these tools.
- Storing tools without protection: Even after cleaning, store tools in a dry place and consider using a tool organizer or hanging them up to prevent moisture buildup.
Pro Tips
- Clean tools after each use: Regularly wiping down your tools after gardening sessions prevents grease and dirt from building up over time. This makes future cleaning much easier.
- Sharpen blades regularly: Degreasing is a great time to sharpen blades. Use a file or sharpening stone to keep them in top condition. Sharp tools make gardening tasks easier and more efficient.
- Use a tool organizer: Store your tools in a way that keeps them organized and prevents them from touching each other. This reduces the chances of rust spreading from one tool to another.
- Check for rust: If any tools have rust, remove it by scrubbing with steel wool or sandpaper. You can also soak rusty tools in vinegar for a few hours to dissolve the rust before scrubbing.
- Reapply protective oil: After cleaning and drying, apply a light coat of oil to metal parts to keep them protected. Do this every few months or whenever the tools start to look dull.
- Use a multi-purpose tool cleaner: If you prefer a ready-made solution, there are commercial tool cleaners available that combine degreasing and rust prevention in one step. Follow the manufacturer’s instructions for best results.
Keeping your garden tools clean and well-maintained is essential for any gardener. Not only does it extend the life of your tools, but it also ensures they work efficiently every time you use them. By following this step-by-step guide, you’ll be able to degrease your tools effectively and keep them in top condition for years to come.
Remember, a little maintenance goes a long way. Spend a few minutes after each gardening session wiping down your tools, and you’ll save yourself the hassle of dealing with heavily encrusted grease and rust in the long run. Happy gardening!
