Introduction
A professional steam mop is a powerful tool for deep cleaning floors, eliminating bacteria, and removing stubborn stains without the need for harsh chemicals. However, like any cleaning equipment, it requires regular maintenance to perform at its best. Over time, mineral deposits, detergent residue, and grime can build up in the water tank, hose, or cleaning head, reducing efficiency and potentially damaging the machine.
In this comprehensive guide, we’ll walk you through the entire process of cleaning your professional steam mop—from gathering the right materials to assembling it correctly after maintenance. Whether you’re a cleaning professional or a homeowner looking to keep your floors sparkling, these steps will help you extend the life of your appliance and ensure optimal performance every time.
Materials Needed
Before you begin, make sure you have the following items on hand:
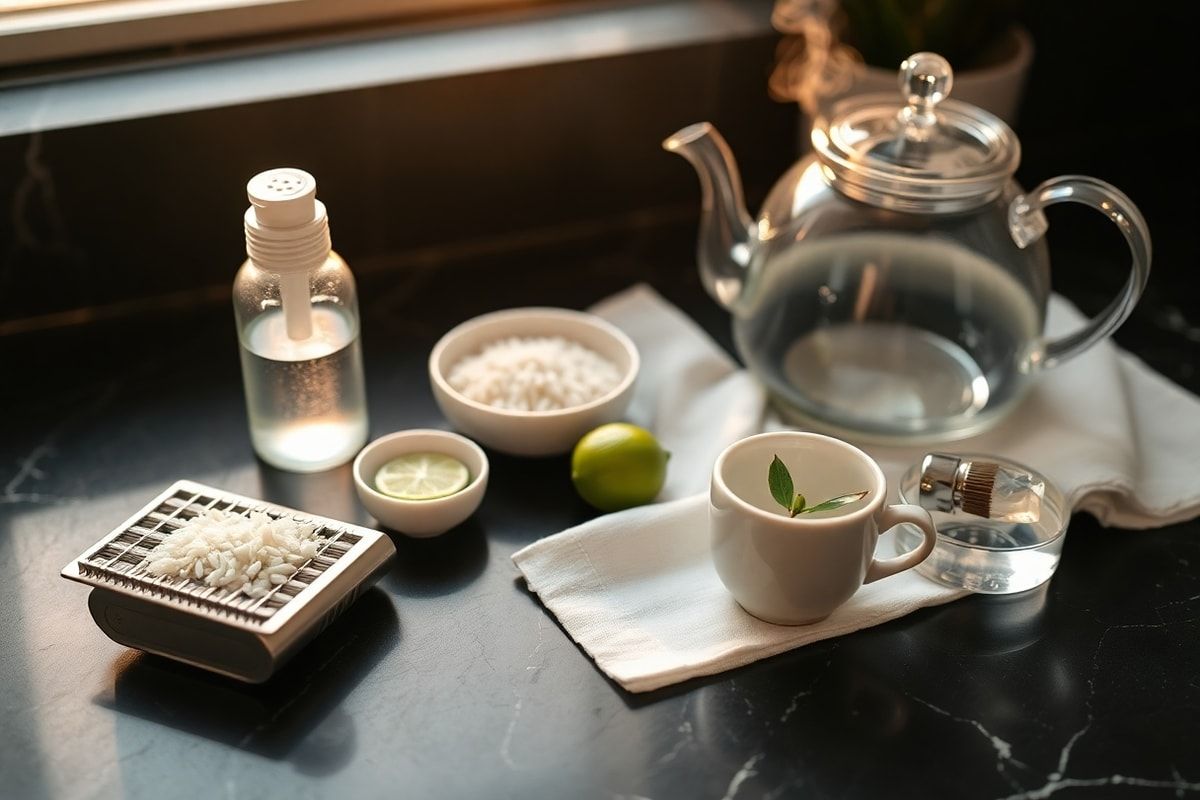
- A mild dish soap or white vinegar (for descaling)
- Fresh, clean tap water (or distilled water, if recommended by your manufacturer)
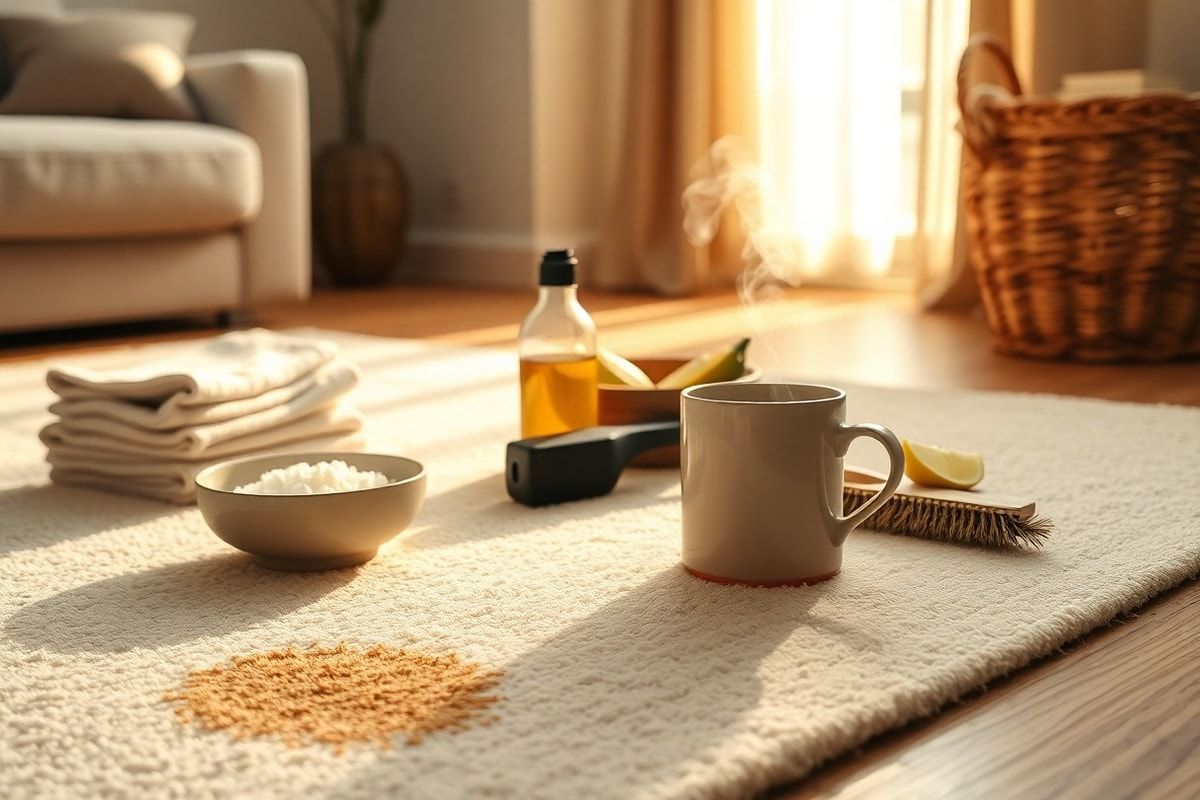
- A soft cloth or microfiber towel
- A small brush (such as an old toothbrush or cleaning brush) for tight spaces
- A measuring cup or funnel
- Optional: steam mop cleaning solution (check compatibility with your model)
- A bucket or sink for rinsing
Preparation Steps
Proper cleaning starts with preparation. Follow these essential steps before you begin maintenance:
Step 1: Unplug the Steam Mop
Safety first! Always unplug your steam mop from the power source before cleaning or disassembling any parts. This prevents accidental activation and protects you from electrical hazards. If your model has a detachable power cord, unplug it from the wall outlet and remove the cord from the mop body.
Step 2: Allow the Mop to Cool Completely
Steam mops generate high heat during operation. Never attempt to clean the water tank or cleaning head while they are still warm or hot. Wait at least 30–60 minutes after use for the appliance to cool down completely. Cleaning hot components can cause burns and may damage seals or plastic parts.
Disassembly
To clean effectively, you’ll need to disassemble the steam mop into its key components. The exact process may vary depending on your model, but most professional steam mops follow a similar structure.
Step 3: Remove the Water Tank
Locate the water tank on your steam mop—usually found at the back or side of the unit. Grasp it firmly and pull it upward or outward, depending on the locking mechanism. Some models have a release button; press it while lifting to detach the tank safely. Empty any remaining water into a sink or bucket.
Inspect the tank for signs of scale buildup (white or crusty deposits) especially if you live in an area with hard water. These deposits can clog the steam output and reduce performance.
Step 4: Detach the Cleaning Head and Pad
Most steam mops allow you to remove the cleaning head for easier cleaning. Look for release clips or buttons on the underside or top of the head. Once released, gently pull the head away from the mop body. Remove the microfiber pad or cloth from the cleaning head by unfastening it from the clips or Velcro attachments.
If your model has a removable brush roller or scrubber, take it off as well. These parts collect hair, lint, and debris, which can interfere with steam flow and cleaning effectiveness.
Cleaning the Components
Now that your steam mop is disassembled, it’s time to clean each part thoroughly.
Step 5: Clean the Water Tank
Fill the empty water tank halfway with warm water. Add one tablespoon of mild dish soap or half a cup of white vinegar (for descaling). Swirl the solution inside the tank to coat all surfaces. Let it sit for 10–15 minutes to loosen mineral deposits and grime.
Use a soft cloth or small brush to scrub the interior, paying special attention to corners and the spray nozzle area. Rinse thoroughly under running water until all soap or vinegar residue is gone. Avoid using abrasive cleaners or scouring pads, as they can scratch the plastic.
For stubborn scale, fill the tank with equal parts water and white vinegar, let it soak for 30 minutes, then rinse well. Some manufacturers recommend using distilled water to minimize scale buildup in hard water areas.
Step 6: Clean the Hose and Steam Path
If your steam mop has a detachable hose or steam tube, inspect it for blockages. Use a thin brush or pipe cleaner to gently remove debris from the inside. You can also run a small amount of vinegar solution through the hose to dissolve any internal buildup, then rinse with clean water.
Never immerse the main body of the steam mop in water. Only clean the water tank, hose (if removable), and external surfaces with a damp cloth.
Step 7: Clean the Cleaning Head and Pad
Wash the microfiber pad by hand in warm, soapy water. Rinse thoroughly and allow it to air dry completely before reattaching. Avoid putting it in the washing machine or dryer, as this can damage the fibers and reduce absorbency.
Use a damp cloth to wipe down the plastic or metal cleaning head, removing any stuck-on dirt or detergent residue. Use the small brush to clean crevices around the steam vents or brush rollers. Make sure all openings are clear so steam can flow freely during use.
Step 8: Wipe Down the Mop Body
Use a damp microfiber cloth to wipe the exterior of the steam mop body. For tougher stains or sticky residue, dip the cloth in a mild soapy solution. Avoid spraying water directly onto the mop’s electrical components or control panel. Dry the surface immediately with a clean towel to prevent water damage.
Reassembly
Once all parts are clean and dry, it’s time to reassemble your steam mop.
Step 9: Reattach the Cleaning Head and Pad
Place the dry microfiber pad onto the cleaning head, securing it with clips or Velcro. Make sure it lies flat and covers the entire surface. Reattach the cleaning head to the mop body by aligning the connectors and pressing firmly until it clicks into place.
Step 10: Refill the Water Tank
Fill the clean water tank with fresh water according to your manufacturer’s guidelines. Most professional steam mops recommend using tap water, but if you have very hard water, consider using filtered or distilled water to reduce mineral buildup. Do not overfill—leave a small air gap to allow for steam expansion.
Optional: Add a few drops of steam mop cleaning solution if you prefer a scented or enhanced cleaning effect. Always follow the product’s dilution instructions.
Step 11: Plug In and Test
Once reassembled, plug the steam mop back into the power outlet. Turn it on and allow it to heat up (this usually takes 30–60 seconds). Once ready, hold the mop over a sink or towel and press the steam trigger to release a burst of steam. This helps clear any remaining residue from the system.
Check for steam output and ensure the cleaning head glides smoothly. If you notice weak steam or unusual noises, you may need to repeat the descaling process.
Mistakes to Avoid
Even experienced users can make mistakes that damage their steam mops. Avoid these common pitfalls:
- Using tap water in hard water areas without descaling: This leads to rapid scale buildup, clogging the steam vents and reducing efficiency.
- Immersing the main unit in water: Never submerge the motor or electrical components—this can cause short circuits or permanent damage.
- Using harsh chemicals or bleach: These can corrode seals, discolor plastic, and leave toxic residues on floors.
- Reassembling while parts are still wet: Moisture trapped inside can promote mold growth or cause electrical malfunctions.
- Ignoring regular maintenance: Cleaning the tank and pad after every few uses prevents long-term buildup and extends the mop’s lifespan.
Pro Tips
Follow these expert recommendations to get the most out of your professional steam mop:
- Use distilled water: If your area has very hard water, switching to distilled water can drastically reduce scale buildup and extend the time between cleanings.
- Clean the pad after every use: Rinsing the microfiber pad immediately after use prevents dirt from drying and hardening, making it easier to clean next time.
- Store upright and dry: After cleaning, store your steam mop in a cool, dry place with the cleaning head facing upward to allow any residual moisture to evaporate.
- Check seals and gaskets: Every few months, inspect the rubber seals around the water tank and hose connections. Replace them if they become brittle or cracked to prevent leaks.
- Use the right detergent: If you use cleaning solutions, choose one specifically formulated for steam mops to avoid residue or damage to internal components.
- Run a vinegar cycle monthly: Even with regular maintenance, perform a thorough descaling once a month using a vinegar-water solution to keep internal pathways clear.
Conclusion
A professional steam mop is an investment in clean, healthy floors. By following this step-by-step guide, you can maintain your appliance in top condition, ensuring powerful steam output, longer lifespan, and consistently sparkling results.
Regular cleaning—especially after heavy use—prevents clogs, scale buildup, and wear on components. With just a few tools and a little time every few weeks, you’ll keep your steam mop performing like new.
Remember: clean water in, clean floors out. Treat your steam mop well, and it will keep your home clean, fresh, and free of germs for years to come.