Introduction
An air conditioner (AC) is a lifesaver during hot summer months, but it requires regular maintenance to function efficiently. One of the most important—and often overlooked—tasks is cleaning the air conditioner filter. A dirty filter restricts airflow, reduces cooling efficiency, and can even lead to higher energy bills or system breakdowns. Fortunately, cleaning your AC filter is a simple process that takes less than 30 minutes and can be done with basic household items.
In this guide, we’ll walk you through the entire process, from gathering the right materials to avoiding common mistakes. Whether you have a window unit, split system, or portable AC, these steps will help you keep your air conditioner running smoothly. Let’s get started!
Materials Needed
Before you begin, gather these essential items to clean your air conditioner filter properly:
- Screwdriver (if required): Some AC units have screws holding the filter in place. A flathead or Phillips screwdriver will help you remove them safely.
- Soft brush or vacuum cleaner: Use a soft brush to gently remove dust from the filter. A vacuum with a brush attachment also works well for quick cleaning.
- Mild detergent or dish soap: Avoid harsh chemicals. A small amount of mild detergent mixed with warm water is ideal for deep cleaning.
- Lukewarm water: Hot water can damage some filters, especially those made of plastic or thin mesh. Stick to lukewarm to preserve the filter’s integrity.
- Microfiber cloth or soft towel: Use this to dry the filter thoroughly after washing.
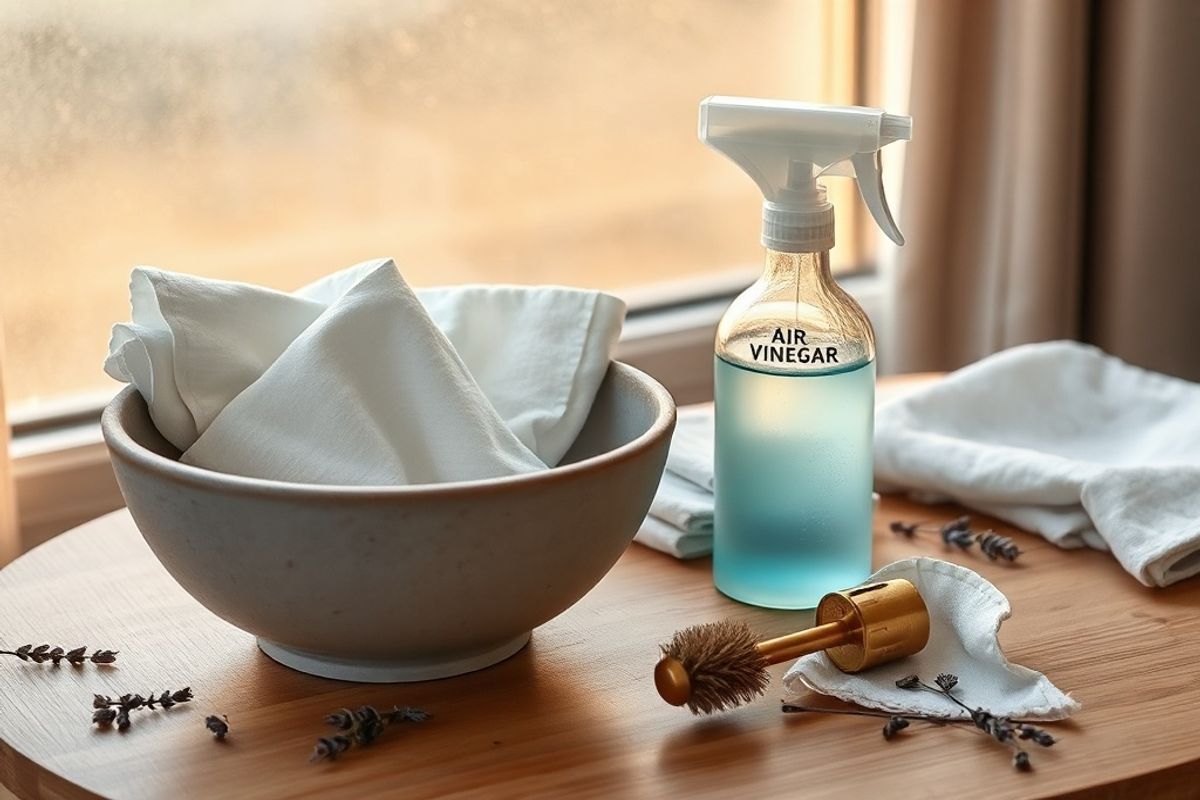
- Spray bottle (optional): Useful for applying cleaning solution evenly across the filter.
- Replacement air filter (if needed): If your filter is torn, heavily damaged, or more than a few years old, consider replacing it with a new one.
✅ Pro Tip: Always check your AC manufacturer’s manual for specific cleaning instructions or filter type recommendations.
Preparation Steps
Before you start cleaning, make sure your air conditioner is turned off and unplugged to avoid any electrical hazards. Here’s what to do next:
Step 1: Turn Off and Unplug the AC Unit
Safety first! Locate the power switch or unplug the unit from the wall outlet. If it’s a window or split AC, also turn off the circuit breaker for extra protection. Never attempt to clean the filter while the unit is running—this can damage internal components or cause injury.
Step 2: Locate the Air Filter
The location of the air filter varies depending on the type of air conditioner:
- Window AC: The filter is usually behind the front grille. Remove the grille by pulling it gently or unscrewing it.
- Split System (Wall-mounted): The filter is located behind the front panel. Slide or pop off the panel to access it.
- Portable AC: The filter is often behind a removable front cover or grille.
If you’re unsure, refer to your AC’s user manual. It will show you exactly where the filter is located.
✅ Pro Tip: Mark your calendar or set a reminder every 1–3 months to clean your AC filter, or more often if you live in a dusty area or run the AC frequently.
Cleaning the Filter
Now that you’ve located the filter, it’s time to clean it. Here’s how to do it properly:
Step 3: Remove the Filter
Gently pull the filter out of its slot. Be careful not to bend or tear it, especially if it’s made of delicate mesh or plastic. If it’s stuck, don’t force it—check if there are clips or screws holding it in place.
Step 4: Vacuum or Brush Off Dust
Use a vacuum cleaner with a brush attachment to remove loose dust and debris from the filter. If you don’t have a vacuum, a soft-bristle brush (like a makeup or paintbrush) works well too. Brush in the direction of the filter’s fibers to avoid damaging them.
Step 5: Prepare the Cleaning Solution
Mix a small amount of mild dish soap or detergent with lukewarm water in a bowl or sink. Avoid using hot water, bleach, or strong chemicals, as they can weaken or warp the filter material. For stubborn dirt, you can add a few drops of white vinegar to the solution for extra cleaning power.
Step 6: Clean the Filter
There are two main methods to clean the filter:
Method 1: Hand Washing
Submerge the filter in the soapy water and gently swirl it for 1–2 minutes. Use your fingertips to lightly scrub any heavily soiled areas. Avoid using abrasive sponges or brushes, as they can tear the filter.
Method 2: Spray Cleaning (for quick maintenance)
If the filter isn’t very dirty, you can spray it with a cleaning solution from a spray bottle and wipe it down with a microfiber cloth. This is faster and uses less water.
⚠️ Warning: Never use a hose or showerhead to rinse the filter. High water pressure can damage the mesh or push dirt deeper into the fibers.
Step 7: Rinse Thoroughly
Hold the filter under running lukewarm water and rinse it from the back side (the side that faces the AC unit). This helps push dirt out instead of deeper into the filter. Continue rinsing until the water runs clear and there’s no soap residue left.
Step 8: Dry the Filter
Gently shake off excess water and place the filter on a clean, dry towel. Let it air-dry completely in the shade. Avoid placing it in direct sunlight or using a hairdryer, as heat can warp or shrink the filter material. Drying usually takes 1–2 hours, depending on humidity.
Reassembling the AC Unit
Once the filter is completely dry, it’s time to put everything back together.
Step 9: Reinstall the Filter
Slide the clean filter back into its original position. Make sure it’s aligned correctly—most filters have an arrow or label indicating the airflow direction. Insert it gently and press it firmly into place.
Step 10: Reattach the Front Panel or Grille
If you removed any screws or clips, reattach them now. Ensure the grille or panel sits flush against the unit to prevent gaps where dust can enter.
Step 11: Plug In and Test the AC
Restore power to your AC unit and turn it on. Set it to a moderate temperature and check that cool air is flowing freely. Listen for unusual noises and monitor performance over the next few hours.
Mistakes to Avoid
Even a simple task like cleaning an AC filter can go wrong if you’re not careful. Here are common mistakes to avoid:
- Using hot water: It can warp plastic or delicate mesh filters. Always use lukewarm water.
- Skipping the drying step: Reinstalling a wet filter can lead to mold growth and bad odors. Ensure it’s completely dry first.
- Using harsh chemicals: Bleach, ammonia, or strong detergents can degrade the filter material and release harmful fumes.
- Cleaning too infrequently: A dirty filter reduces efficiency and increases energy costs. Aim to clean it every 1–3 months, or monthly in dusty environments.
- Forcing the filter: If it doesn’t slide in easily, check for obstructions or misalignment. Forcing it can cause tears.
- Ignoring signs of damage: If the filter is torn, discolored, or smells musty even after cleaning, replace it immediately.
Pro Tips for Better AC Maintenance
Extend the life of your air conditioner and improve indoor air quality with these expert tips:
- Check the filter monthly during peak usage: In summer or in high-pollution areas, dust builds up faster.
- Use a HEPA filter upgrade (if compatible): High-efficiency filters trap more particles, improving air quality and reducing allergens.
- Keep the outdoor unit clean: Outdoor condenser coils also need regular cleaning. Use a garden hose (gentle spray) to remove debris like leaves and dirt.
- Schedule professional servicing annually: Even with regular cleaning, an HVAC technician can inspect refrigerant levels, check electrical components, and optimize performance.
- Keep the area around the AC unit clear: Ensure at least 2 feet of space around the outdoor unit for proper airflow.
- Use a dehumidifier: Reducing indoor humidity helps your AC work more efficiently and prevents mold growth in filters and ducts.
- Store filters properly when not in use: If you remove a filter for extended periods (e.g., winter), store it in a clean, dry place away from pests.
✅ Did You Know? A clean air filter can improve your AC’s efficiency by up to 15%, lowering your electricity bill and reducing wear on the system.
Conclusion
Cleaning your air conditioner filter is a small task with big benefits. It improves airflow, enhances cooling performance, saves energy, and extends the life of your unit. With just a few tools and 20–30 minutes of your time, you can prevent costly repairs and keep your home cool and comfortable all season long.
By following this step-by-step guide, you’ll ensure your AC runs smoothly and efficiently. Don’t forget to set regular reminders—your future self (and your wallet) will thank you!
Now that you’ve mastered filter cleaning, why not check your AC’s other components? Regular maintenance is the key to a long-lasting, high-performing air conditioning system.
Stay cool and breathe easy!
