Introduction
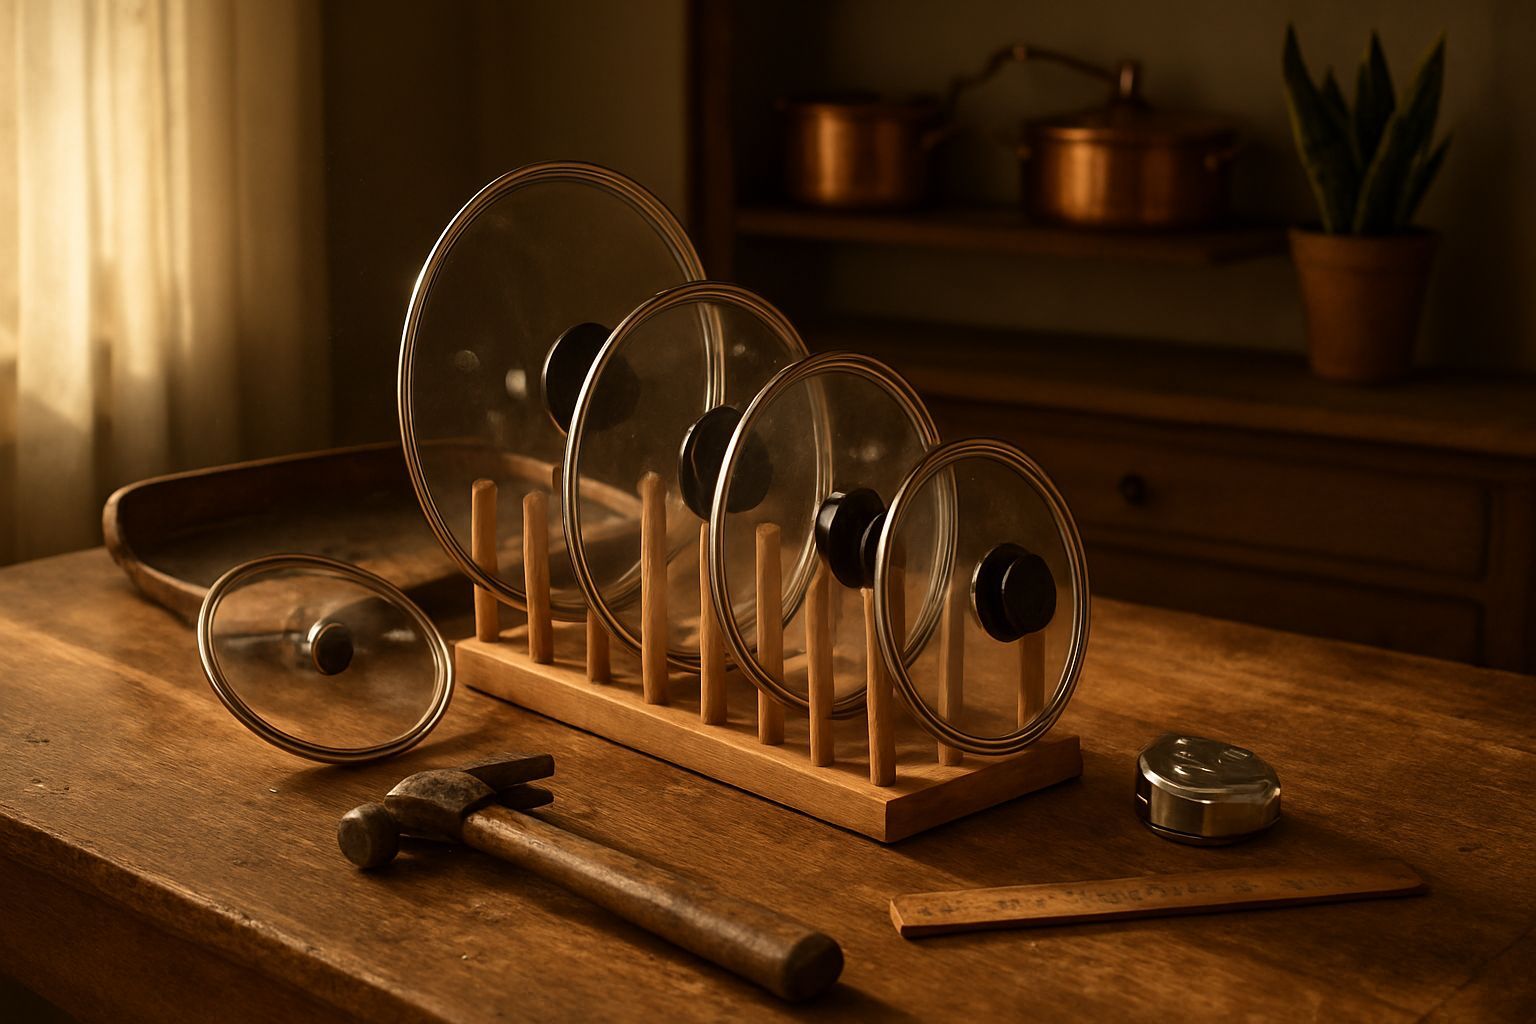
Tired of cluttered cabinets and lost pot lids? A vertical pot lid rack is a stylish and practical solution to keep your kitchen organized. This DIY project is perfect for homeowners looking to maximize space while adding a touch of elegance to their kitchen. In this guide, we’ll walk you through the process of building a vertical pot lid rack from scratch, including materials needed, step-by-step instructions, and pro tips to ensure a polished finish.
Materials Needed
- Wooden boards (1x2 or 1x3 inches, cut to desired length)
- Wood screws or nails
- Wood glue
- Sandpaper (medium and fine grit)
- Paint or stain (optional)
- Drill or screwdriver
- Saw (if cutting wood to size)
- Measuring tape
- Level
- Pencil
Preparation Steps
Step 1: Measure and Cut the Wood
Start by measuring the space where you plan to install the rack. Decide on the height and width based on your cabinet or wall space. Cut the wooden boards to the desired lengths using a saw. Ensure all pieces are smooth and even.
Step 2: Sand the Wood
Use medium-grit sandpaper to smooth out any rough edges or surfaces. Follow up with fine-grit sandpaper for a polished finish. This step is crucial for both aesthetics and safety, especially if you plan to leave the wood natural or stain it.
Assembly
Step 3: Assemble the Frame
Lay out the wooden boards to form the frame of your rack. Use wood glue to secure the joints, then reinforce them with screws or nails. Ensure the frame is square by checking with a level. Allow the glue to dry completely before proceeding.
Step 4: Attach the Rack to the Wall or Cabinet
Position the rack in its final location. Use a level to ensure it’s straight, then mark the screw holes. Pre-drill holes to prevent splitting, then secure the rack to the wall or cabinet using screws. If mounting on a cabinet door, use hinges for easy access.
Mistakes to Avoid
1. Skipping the sanding step can leave rough edges that may scratch lids or hands.
2. Not measuring accurately can result in a rack that’s too large or too small for your space.
3. Using weak or improperly secured screws can cause the rack to sag or fall over time.
4. Ignoring the level can lead to a crooked rack that looks unprofessional.
Pro Tips
1. Paint or stain the rack to match your kitchen decor for a cohesive look.
2. Add small hooks or pegs to the rack for hanging additional kitchen tools.
3. Consider adding a small shelf below the rack for extra storage.
4. Use removable adhesive hooks if you prefer a non-permanent solution.
Conclusion
A vertical pot lid rack is a simple yet effective way to declutter your kitchen and keep your pot lids organized. With the right materials and a bit of patience, you can create a functional and stylish storage solution that enhances your kitchen’s efficiency. Follow these steps, avoid common mistakes, and use the pro tips to achieve the best results. Happy organizing!