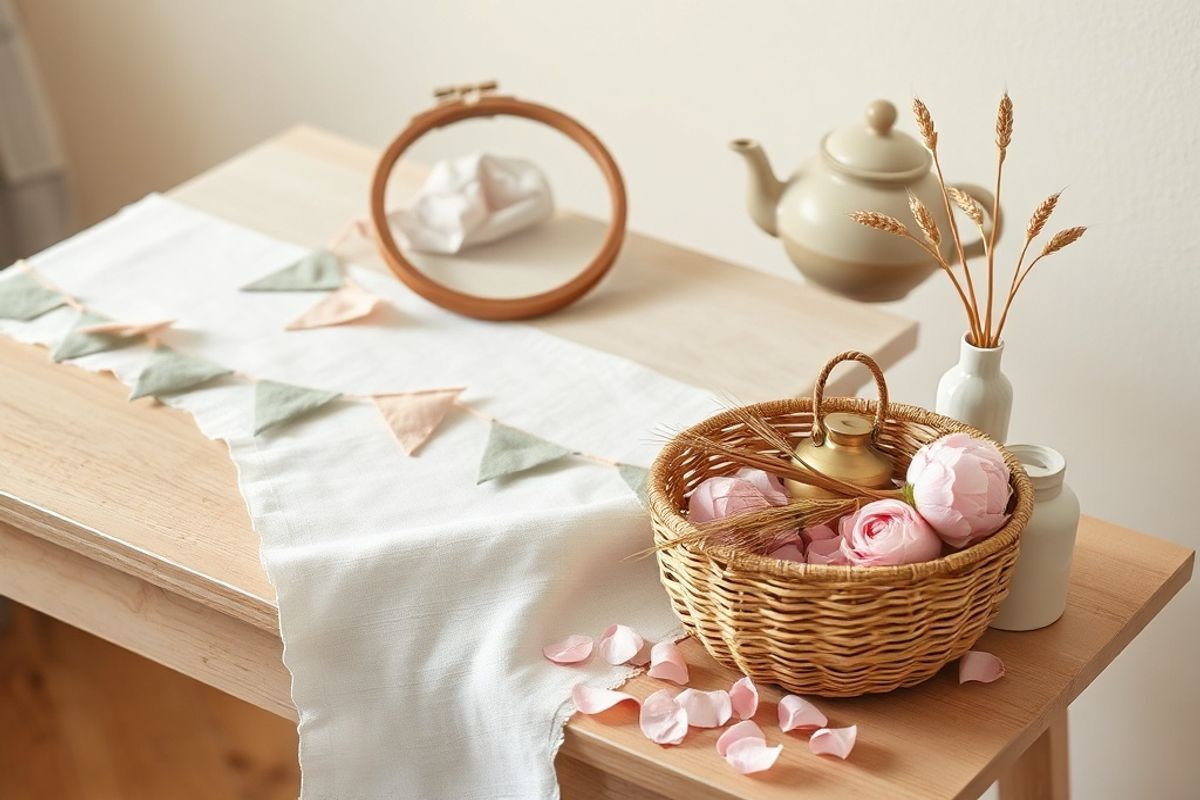
Welcome to HomeReadyHub! Whether you're hosting a baby shower with a patriotic theme, a global adventure vibe, or just love the look of colorful bunting, a flag garland is a charming and easy-to-make decoration. Perfect for baby showers, it adds a festive touch to the celebration and can be customized to match any color scheme or theme.
In this tutorial, we’ll guide you through creating a beautiful and durable flag garland using fabric or paper flags. This project is beginner-friendly, budget-conscious, and allows for endless creativity. Let’s get started!
Materials needed
- Fabric or patterned paper – Choose colors and patterns that match your baby shower theme (e.g., pastels, nautical, woodland, etc.)
- Scissors – Fabric scissors if using fabric; sharp paper scissors for paper
- Sewing machine and thread (optional – you can hand-sew or use fabric glue instead)
- Iron and ironing board – For pressing seams and ensuring crisp folds
- Measuring tape or ruler
- Pencil or fabric marker – For marking cuts
- String, twine, or ribbon – Choose a color that complements your flags (about 6–10 feet long, depending on size)
- Safety pin or needle – To help thread the string through the flags
- Hot glue gun (optional) – For attaching paper flags quickly
- Decorative embellishments (optional) – Such as ribbons, pom-poms, or tassels
Preparation steps
Step 1: Choose your flag size and shape
Decide on the size of your flags. A popular size is about 4 inches wide by 6 inches tall, but you can adjust based on your preference. Common flag shapes include:
- Triangular flags – Classic and easy to cut
- Rectangular flags – Modern and clean look
- Pennant flags – Often triangular with a point at the bottom
For this tutorial, we’ll use triangular flags (3.5 inches at the top, 6 inches long from top to bottom).
Step 2: Cut out your flags
Lay your fabric or paper flat on a clean surface. Use your ruler and pencil to mark out your flag shapes. For triangles, draw a line 3.5 inches long for the top, then draw two lines down at an angle to meet 6 inches from the top, forming a triangle. Repeat to create enough flags for your garland.
Tip: If using fabric, cut a few extra inches around each flag to allow for sewing or gluing hems.
For paper, you can use a template or print a flag shape, then trace and cut multiple at once.
For a nautical theme, consider adding anchor, sailboat, or heart motifs to your flags. For a woodland theme, use leaves, foxes, or clouds.
Assembly
Step 3: Prepare the flags (Fabric version)
Fold the top edge of each fabric flag down about ½ inch to create a hem. Press with an iron to create a crisp fold.
Sew a straight stitch along the folded edge, leaving a small opening at one end to insert the string. Alternatively, use fabric glue to secure the hem.
For added strength, stitch the sides of the triangle lightly (top and sides only – not the point) to prevent fraying.
Step 4: Prepare the flags (Paper version)
Fold the top edge of each paper flag down ½ inch to create a flap.
Use a hole punch to create two small holes in the folded flap, spaced about 1 inch apart.
Alternatively, use double-sided tape or a hot glue gun to attach a small loop of ribbon or string to the top of each flag.
Step 5: String the flags
Now it’s time to assemble the garland! Choose your string – twine, baker’s twine, or satin ribbon all work well.
For Fabric Flags:
Tie a knot at one end of your string. Thread a safety pin through the folded hem of the first flag and push it along the string. Once in place, tie a knot just above the flag to secure it. Repeat for each flag, spacing them 4–6 inches apart.
For Paper Flags:
Thread your string through the holes in each flag’s flap, or attach the ribbon loop to the string with a small knot. Space flags evenly along the string.
Mistakes to avoid
- Uneven spacing: Use a ruler or mark the string with tape every few inches to ensure consistent spacing.
- Skipping the hem: Without a hem or reinforcement, fabric flags may fray, especially if handled often.
- Using weak string: Avoid thin or slippery strings. Choose durable twine or ribbon that won’t stretch or break under the weight of the flags.
- Ignoring theme consistency: While mixing patterns can be fun, too many clashing designs can look chaotic. Stick to 2–3 coordinating patterns or colors.
- Overloading the garland: Too many heavy flags on a thin string can cause sagging or breakage. Keep it light and festive!
Pro tips
🌈 Themed Inspiration:
- For a gender reveal, use flags in pink or blue with confetti patterns.
- For a travel-themed shower, print flags with world maps or landmarks.
- For a celestial theme, use moon, star, and cloud flags in gold and silver.
🎨 Customize with Names:
Write the baby’s name, “Welcome Baby,” or the parents’ names on a few flags. Use fabric markers, embroidery, or printed paper for a personal touch.
🔥 Add Dimension:
Layer flags of different sizes or mix in mini paper pom-poms between flags for a playful look.
🔧 Hang It Gracefully:
Drape the garland in a gentle curve across a wall, above a dessert table, or along a mantel. Use removable hooks for easy installation and cleanup.
🧼 Care and Storage:
If using fabric, hand wash or spot clean. Store folded in a dry place. Paper flags are best for one-time use or kept as keepsakes.
🎉 Bonus Idea: Turn the garland into a photo backdrop! Hang it behind the cake table or gift table for stunning photos.
💡 Time-Saver: If short on time, buy pre-made bunting from a craft store and personalize it by adding your own flags or ribbons.
⚠️ Safety Note: Keep garlands away from candles, high-traffic areas, and children’s reach to prevent accidents.
With a little creativity and patience, your flag garland will become the centerpiece of your baby shower décor. Whether you’re celebrating a baby girl, boy, or a little one on the way, this DIY project adds warmth, color, and a personal touch to your special day.
Ready to start crafting? Gather your materials, put on some music, and enjoy the process. Your handmade flag garland will not only impress your guests but also become a treasured memory of this joyful occasion.
Happy crafting from all of us at HomeReadyHub!
Have you made a flag garland before? Share your photos and tips with us on social media using #HomeReadyHub! We’d love to see your creations.
