In our modern, digital-first world, screens are everywhere. From the smartphone in your pocket to the laptop on your desk, the tablet for entertainment, and the grand television dominating your living room, these glowing portals connect us, inform us, and entertain us. But there’s nothing quite as frustrating as a screen marred by fingerprints, dust, smudges, and worst of all, those stubborn streaks left behind by inadequate cleaning products. It diminishes clarity, strains your eyes, and frankly, just looks messy. You might have tried various store-bought cleaners, only to be disappointed by the residue they leave behind. Or perhaps you're wary of harsh chemicals that could damage delicate screen coatings.
What if I told you that the secret to a perfectly pristine, streak-free screen lies in a simple, homemade solution that’s not only incredibly effective but also safe for most of your beloved devices? At HomeReadyHub, we believe in empowering you with practical, DIY solutions that make your life easier and your home cleaner. Today, we’re diving into crafting your very own streak-free screen cleaner. This isn't just about saving a few bucks; it's about gaining control over the ingredients, ensuring safety for your electronics, and achieving a level of clean that store-bought options often fail to deliver. Get ready to banish those streaks forever and enjoy the crystal-clear displays your devices were meant to provide!
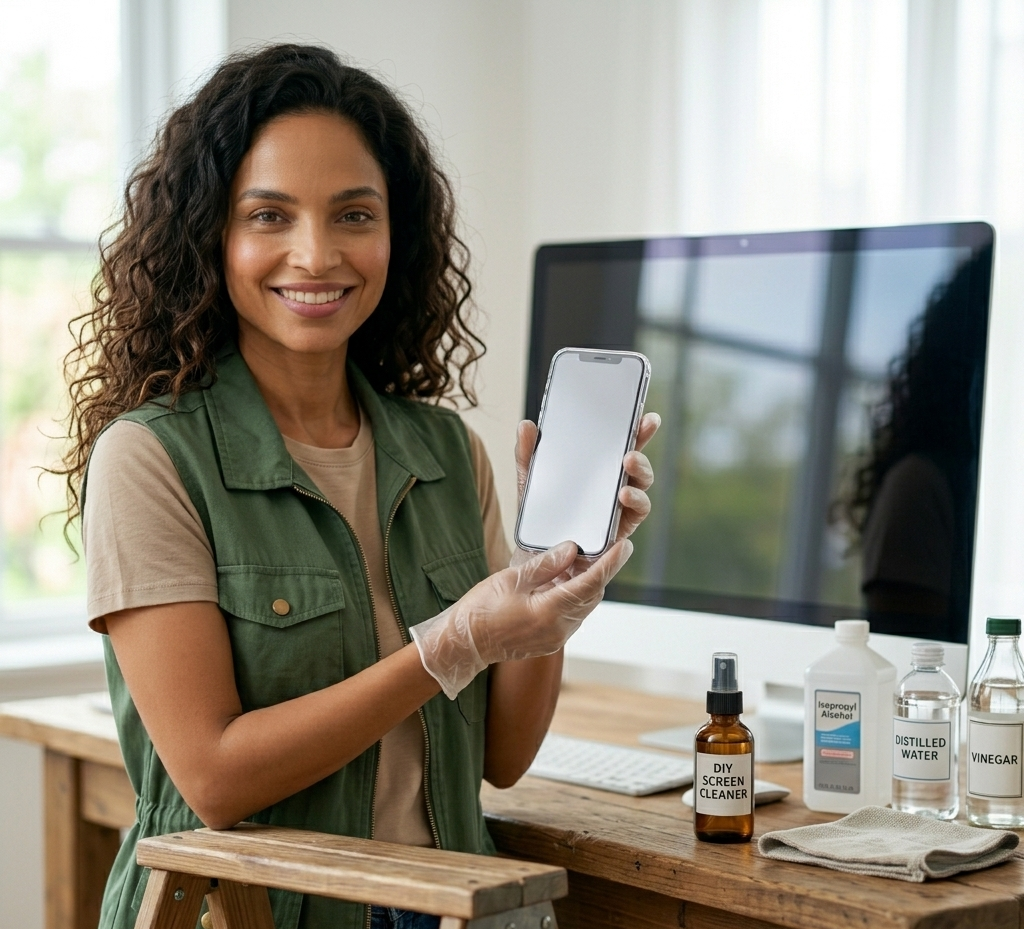
Materials Needed
- Distilled Water (1 cup): This is crucial! Tap water contains minerals that can leave streaks and residue. Distilled water is purified, leaving no mineral deposits behind.
- Isopropyl Alcohol (IPA) 70% (1 cup): Often found in drugstores, 70% isopropyl alcohol is effective at cutting through grease and sanitizing without being too harsh on most screen coatings. Avoid anything stronger than 91%, and 70% is generally preferred for electronics.
- Small Spray Bottle (200-250ml capacity): A clean, empty spray bottle with a fine mist setting is ideal for even application. Ensure it's never been used for chemicals that could harm screens.
- Two High-Quality Microfiber Cloths: These are non-negotiable for streak-free cleaning. One for applying the solution and wiping, the second for buffing and drying. Look for cloths specifically designed for electronics or glass. Avoid abrasive towels, paper towels, or tissues, which can scratch screens and leave lint.
- Measuring Cup: For accurate measurement of liquids.
- Funnel (Optional but Recommended): Makes pouring into the spray bottle much easier and prevents spills.
Preparation Steps
Step 1: Gather and Prepare Your Workspace
Before you begin mixing your screen cleaner, take a moment to set up your workspace. Choose a clean, flat surface where you can comfortably work without the risk of spills or contamination. Lay down a towel or some newspaper to protect your surface, just in case. Ensure all your materials – the distilled water, isopropyl alcohol, measuring cup, spray bottle, and funnel – are clean and within reach. It’s also a good idea to quickly rinse your spray bottle with distilled water and let it air dry to ensure there are no lingering residues from previous contents. This step, while seemingly minor, ensures a smooth and hygienic preparation process, preventing any unwanted contaminants from making their way into your pristine cleaning solution. Remember, the goal is streak-free, and that starts with clean tools!
Step 2: Measure Your Ingredients Accurately
Precision is key when mixing cleaning solutions, especially for delicate electronics. Using your clean measuring cup, carefully measure out exactly one cup of distilled water. Pour this into a separate, clean container for now. Next, measure out one cup of 70% isopropyl alcohol. It’s important to stick to the 1:1 ratio for this solution, as it provides the optimal balance of cleaning power and safety for most modern screens. Using too much alcohol can potentially be too harsh on certain anti-reflective or oleophobic coatings over time, while too little might not be effective enough at cutting through grime and oils. Double-check your measurements to ensure you have the correct proportions before moving on to the mixing stage. Accuracy here guarantees the efficacy and safety of your homemade cleaner.
Assembly
Step 3: Combine the Liquids into the Spray Bottle
Now that your ingredients are perfectly measured, it's time to combine them. Carefully pour the measured distilled water into your clean spray bottle. Using a funnel here can be incredibly helpful to prevent spills and ensure all the liquid makes it into the bottle. Once the distilled water is in, slowly add the measured isopropyl alcohol to the same spray bottle. There's no need to stir; the liquids will naturally mix. Cap the spray bottle securely and give it a gentle shake for a few seconds to ensure the two components are thoroughly combined. It's a simple step, but this mixing action ensures that every spray delivers a consistent and balanced cleaning solution, ready to tackle those smudges and fingerprints.
Step 4: Label Your Homemade Screen Cleaner
This step is often overlooked but is absolutely essential for safety and organization. Once your solution is mixed and bottled, take a moment to clearly label the spray bottle. Write 'Streak-Free Screen Cleaner' or 'DIY Screen Cleaner' on the label, along with the ingredients (Distilled Water & 70% Isopropyl Alcohol) and the date it was made. This prevents any confusion with other cleaning products you might have around the house, ensuring you don't accidentally use the wrong solution on your valuable electronics. Additionally, if you ever need to make more, having the ingredients listed will serve as a handy reminder. Store your freshly made cleaner in a cool, dry place away from direct sunlight and out of reach of children and pets. Proper labeling provides peace of mind and keeps your cleaning routine safe and efficient.
Mistakes to Avoid
Achieving a streak-free screen isn't just about the right cleaner; it's also about avoiding common pitfalls. Here are some critical mistakes to steer clear of:
- Using Tap Water: As mentioned, tap water contains minerals that will inevitably leave streaks and water spots. Always, always use distilled water.
- Spraying Directly Onto the Screen: Never spray any liquid directly onto your device's screen. Excess moisture can seep into bezels, ports, or cracks and cause irreversible damage to internal components. Always spray onto your microfiber cloth first.
- Using Harsh Chemicals: Avoid household cleaners like Windex, glass cleaner, ammonia-based products, or anything containing bleach, acetone, or harsh solvents. These chemicals can strip anti-glare coatings, damage oleophobic layers (the ones that repel fingerprints), and even discolor plastic bezels.
- Using Abrasive Materials: Paper towels, tissues, napkins, or rough cloths can scratch delicate screen surfaces, leave behind lint, and are generally ineffective at streak-free cleaning. Stick exclusively to high-quality microfiber.
- Cleaning a Hot Device: Always power off and unplug your device before cleaning. Not only is it safer, but cleaning a hot screen can cause the solution to evaporate too quickly, leading to streaks.
- Over-Saturating Your Cloth: A damp cloth is all you need. A soaking wet cloth means excess liquid, which increases the risk of moisture damage to your device.
- Using the Same Cloth for Different Tasks: Don't use a microfiber cloth that's been used for dusting or general household cleaning. It might contain abrasive particles or residues from other cleaners that could scratch your screen or leave new streaks. Dedicate specific microfiber cloths solely for screen cleaning.
Pro Tips
Elevate your screen cleaning game with these expert tips:
- Always Power Off and Unplug: This is not just about safety; a powered-off screen makes smudges and dust more visible, allowing for a more thorough clean.
- Use Two Microfiber Cloths: Designate one cloth for applying the solution and the initial wipe-down to lift grime. Use the second, dry cloth for buffing the screen to a perfect, streak-free finish.
- Wipe in One Direction (or Gentle Circles): Start at one corner and wipe in overlapping, consistent strokes across the screen, either horizontally or vertically. For stubborn spots, a gentle circular motion with minimal pressure can be effective. Avoid scrubbing aggressively.
- Clean Regularly: A quick, light cleaning every few days is much easier and more effective than trying to tackle weeks of built-up grime and fingerprints. Regular maintenance prevents the need for heavy-duty cleaning.
- Address Different Screen Types: While this solution is generally safe, always be mindful of your specific device. For touchscreens, remember to clean the entire surface, including the edges where grime can accumulate. For older CRT monitors (if you still have one!), the solution is perfectly safe. For specialized industrial screens or very high-end professional displays, consult the manufacturer's cleaning recommendations if you have concerns.
- Test in an Inconspicuous Area: Though this solution is mild, if you're ever in doubt about a new cleaning method or a particularly sensitive screen, test a small, hidden area first (e.g., the very edge of the bezel or a small corner of the screen that's typically covered).
- Store Microfiber Cloths Properly: Keep your screen-cleaning microfiber cloths clean and stored separately from other cleaning cloths to prevent cross-contamination from dirt or other chemicals. Wash them regularly (without fabric softener, which can reduce their effectiveness) and air dry.
- Don't Forget the Bezels: While the screen is the star, don't neglect the bezels and frame of your device. Dust and oils can accumulate there too. Use a slightly damp corner of your microfiber cloth to wipe them down.
And there you have it! With your homemade streak-free screen cleaner and these expert tips, you are now equipped to tackle even the most stubborn smudges and fingerprints. Say goodbye to blurry displays and hello to the crisp, clear visuals your devices were designed to deliver. Not only will your screens look better, but a clean screen can also reduce eye strain and even extend the life of your device by preventing dust buildup. This simple, cost-effective, and safe DIY solution will quickly become a staple in your home cleaning routine. So go ahead, mix up a batch, and let the clarity shine through! Share your sparkling screen success stories with us at HomeReadyHub – we love to hear how our tutorials help make your home life a little bit brighter and a whole lot cleaner.
