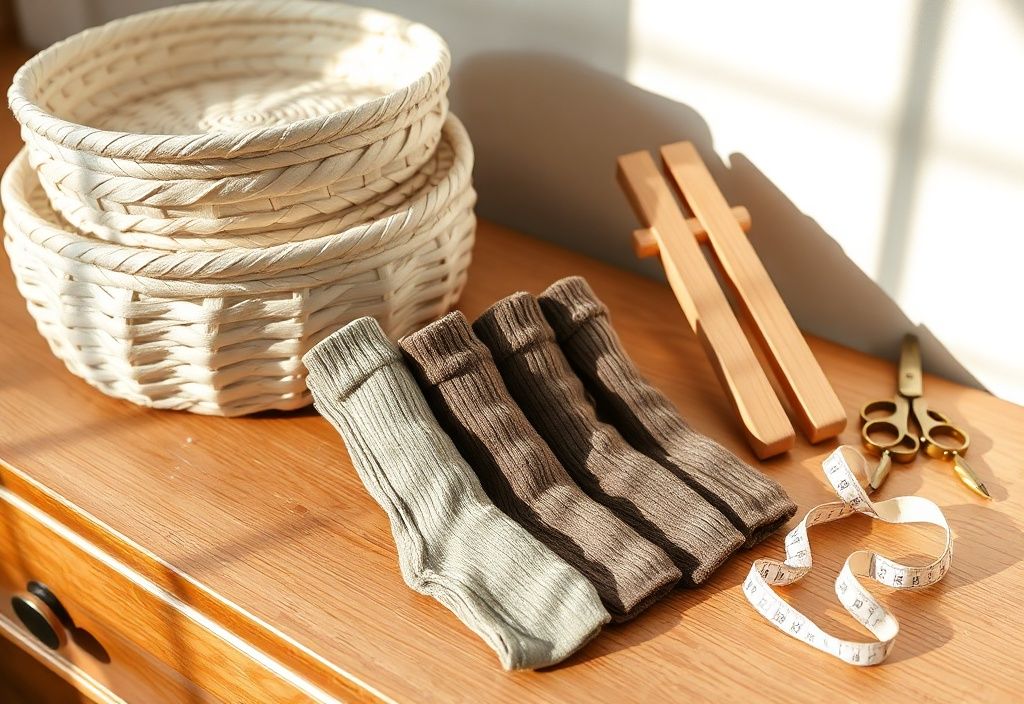
Are your socks scattered in the drawer, making it a mess every time you need a pair? A DIY sock drawer organizer with rolled socks is the perfect solution to keep your socks tidy, visible, and easy to access. This simple yet effective method not only saves space but also adds a touch of order to your daily routine.
Materials needed
- Cardboard or plastic storage boxes (adjustable sizes for different sock types)
- Fabric or decorative paper (optional, for a polished look)
- Scissors or a craft knife
- Ruler and pencil
- Glue or double-sided tape (if using fabric or paper)
- Label maker or sticky labels (optional, for labeling sections)
Preparation steps
Step 1: Choose your storage boxes
Select storage boxes that fit your drawer dimensions. You can use cardboard boxes, plastic bins, or even repurposed shoeboxes. For a cleaner look, opt for boxes with smooth edges. If you want to customize the appearance, measure the boxes and prepare fabric or decorative paper to cover them.
Step 2: Measure and mark the boxes
Using a ruler and pencil, measure the dimensions of your drawer. Then, mark the boxes accordingly to ensure they fit snugly. If you're covering the boxes with fabric or paper, cut the material to fit the boxes, leaving a small allowance for folding and gluing.
Assembly
Step 3: Assemble the sock storage
If you're using plain cardboard or plastic boxes, you can skip this step. However, if you're adding a decorative touch, wrap the boxes with fabric or paper. Secure the edges with glue or double-sided tape, ensuring a smooth, wrinkle-free finish. Allow the glue to dry completely before moving to the next step.
Once your boxes are ready, place them in the drawer. Arrange them in a way that maximizes space and makes it easy to access your socks. For example, you can place smaller boxes for socks that are worn less frequently and larger ones for everyday socks.
Step 4: Roll and store your socks
Start by pairing your socks. Lay each pair flat on a clean surface. Fold the toe of the sock over the heel to create a compact roll. This method not only saves space but also makes it easier to see each pair at a glance.
Place the rolled socks vertically into the boxes, with the toe facing down. This way, you can easily pull out a pair without disturbing the others. If you're using labeled boxes, add sticky labels to identify the contents, such as "Work Socks," "Athletic Socks," or "Winter Socks."
Mistakes to avoid
- Overfilling the boxes: Avoid stuffing too many socks into a single box, as this can make it difficult to retrieve pairs. Instead, use multiple smaller boxes for better organization.
- Ignoring fabric texture: If you're covering boxes with fabric, ensure it's sturdy enough to withstand frequent use. Thin or delicate fabrics may tear over time.
- Skipping labels: While it's optional, labeling boxes can save you time and hassle, especially if you have multiple types of socks. Don't skip this step if you have a large sock collection.
Pro tips
- Use drawer dividers: If you don't have storage boxes, use plastic or wooden drawer dividers to create sections for different sock types.
- Color-code your socks: Arrange rolled socks by color to make it even easier to find the pair you're looking for. This is especially helpful in a hurry.
- Maintain your organizer: Every few months, take out all your socks, check for wear and tear, and reorganize as needed. This keeps your drawer clutter-free and functional.
- Add drawer liners: Use non-slip drawer liners to keep your boxes and socks in place, even when you're pulling them out quickly.
With this DIY sock drawer organizer, you'll transform a chaotic space into a neat and functional area. Not only will you save time searching for socks, but you'll also add a touch of personal style to your home. Give it a try, and enjoy the satisfaction of a perfectly organized drawer!
