Introduction
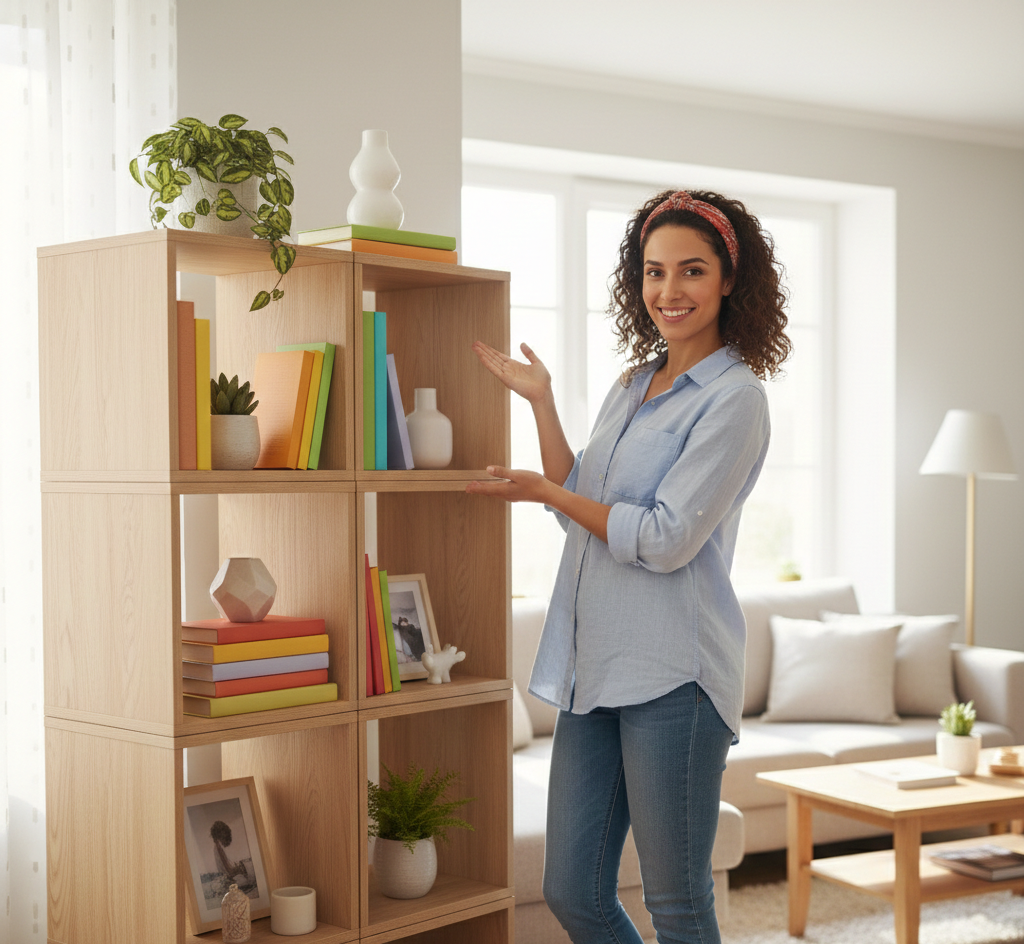
An étagère is a versatile piece of furniture that can serve as a bookshelf, display unit, or storage solution. A modular wooden cube étagère is not only stylish but also highly customizable, allowing you to adjust the layout to fit your space and needs. Whether you're a beginner or an experienced DIYer, this guide will walk you through the process of building your own modular wooden cube étagère step by step.
Materials Needed
- Wooden cubes (pre-cut or custom-sized)
- Wood glue
- Wood screws
- Sandpaper (medium and fine grit)
- Wood stain or paint (optional)
- Clear sealant or varnish (optional)
- Level
- Measuring tape
- Pencil
- Drill with screwdriver bit
- Clamps
- Saw (if cutting wood yourself)
Preparation Steps
Step 1: Plan Your Design
Before you start building, decide on the size and layout of your étagère. Measure the space where you plan to place it and determine how many cubes you’ll need. Sketch a rough design to visualize the arrangement. Consider factors like height, width, and depth, as well as any additional features like shelves or doors.
Step 2: Prepare the Wood
If you’re using pre-cut wooden cubes, ensure they are smooth and free of splinters. If you’re cutting your own wood, use a saw to cut the wood into equal-sized cubes (typically 12x12 inches or your preferred size). Sand each piece thoroughly with medium-grit sandpaper to remove rough edges, then finish with fine-grit sandpaper for a smooth surface. Wipe away any dust with a damp cloth.
Assembly
Step 3: Assemble the Cubes
Begin by laying out the cubes in your desired arrangement. Use wood glue to attach the cubes together, applying a small amount to the edges where they meet. Clamp the pieces together and let the glue dry according to the manufacturer’s instructions. For added stability, pre-drill holes and insert wood screws at the corners where the cubes meet.
Step 4: Secure the Structure
Once the glue is dry, reinforce the structure by driving screws through the pre-drilled holes. Ensure the étagère is level and stable. If you plan to mount it on a wall, attach brackets or anchors for extra security. If you’re keeping it freestanding, make sure the base is sturdy and balanced.
Mistakes to Avoid
1. Skipping Sanding: Rough edges can splinter and detract from the finished look. Always sand thoroughly.
2. Using Too Much Glue: Excess glue can seep out and create a messy finish. Apply sparingly.
3. Ignoring Leveling: An uneven étagère can look unbalanced and may not function properly. Use a level during assembly.
4. Overlooking Stability: Ensure the structure is strong enough to hold the items you plan to display.
Pro Tips
1. Customize the Finish: Stain or paint the cubes to match your decor. A clear sealant will protect the wood and enhance its natural beauty.
2. Add Shelves: Insert glass or wooden shelves inside the cubes for extra display space.
3. Modular Flexibility: Keep a few extra cubes on hand to expand or reconfigure the étagère in the future.
4. Wall Mounting: If mounting on the wall, use heavy-duty anchors and brackets for safety.
Conclusion
Building a modular wooden cube étagère is a rewarding DIY project that adds both style and functionality to your home. With the right materials, careful planning, and attention to detail, you can create a custom piece that suits your space perfectly. Whether you use it to display books, plants, or decorative items, this étagère will be a versatile and eye-catching addition to any room.