Introduction
Long, lush lashes and well-defined brows are a beauty staple, but achieving them often requires patience and the right products. While commercial serums can be expensive, you can create an effective, natural lash and brow growth serum at home using simple ingredients. This DIY serum is gentle, affordable, and free from harsh chemicals. In this tutorial, we’ll guide you through the process step by step, from gathering materials to applying the serum. By the end, you’ll have a nourishing serum that promotes healthier, thicker lashes and brows.
Materials Needed
- 1 tablespoon of pure aloe vera gel
- 1 tablespoon of castor oil (cold-pressed is best)
- 1 tablespoon of coconut oil (fractionated or virgin)
- 1-2 drops of rosemary essential oil (optional, for added growth stimulation)
- 1-2 drops of lavender essential oil (optional, for soothing benefits)
- 1 small dropper bottle or a clean mascara wand
- A small mixing bowl
- A clean spoon or dropper
Preparation Steps
Step 1: Gather and Sanitize Your Tools
Before you begin, ensure all your tools are clean to avoid contamination. Sterilize the dropper bottle and mixing bowl with rubbing alcohol or hot water. This step is crucial to prevent bacteria from affecting your serum.
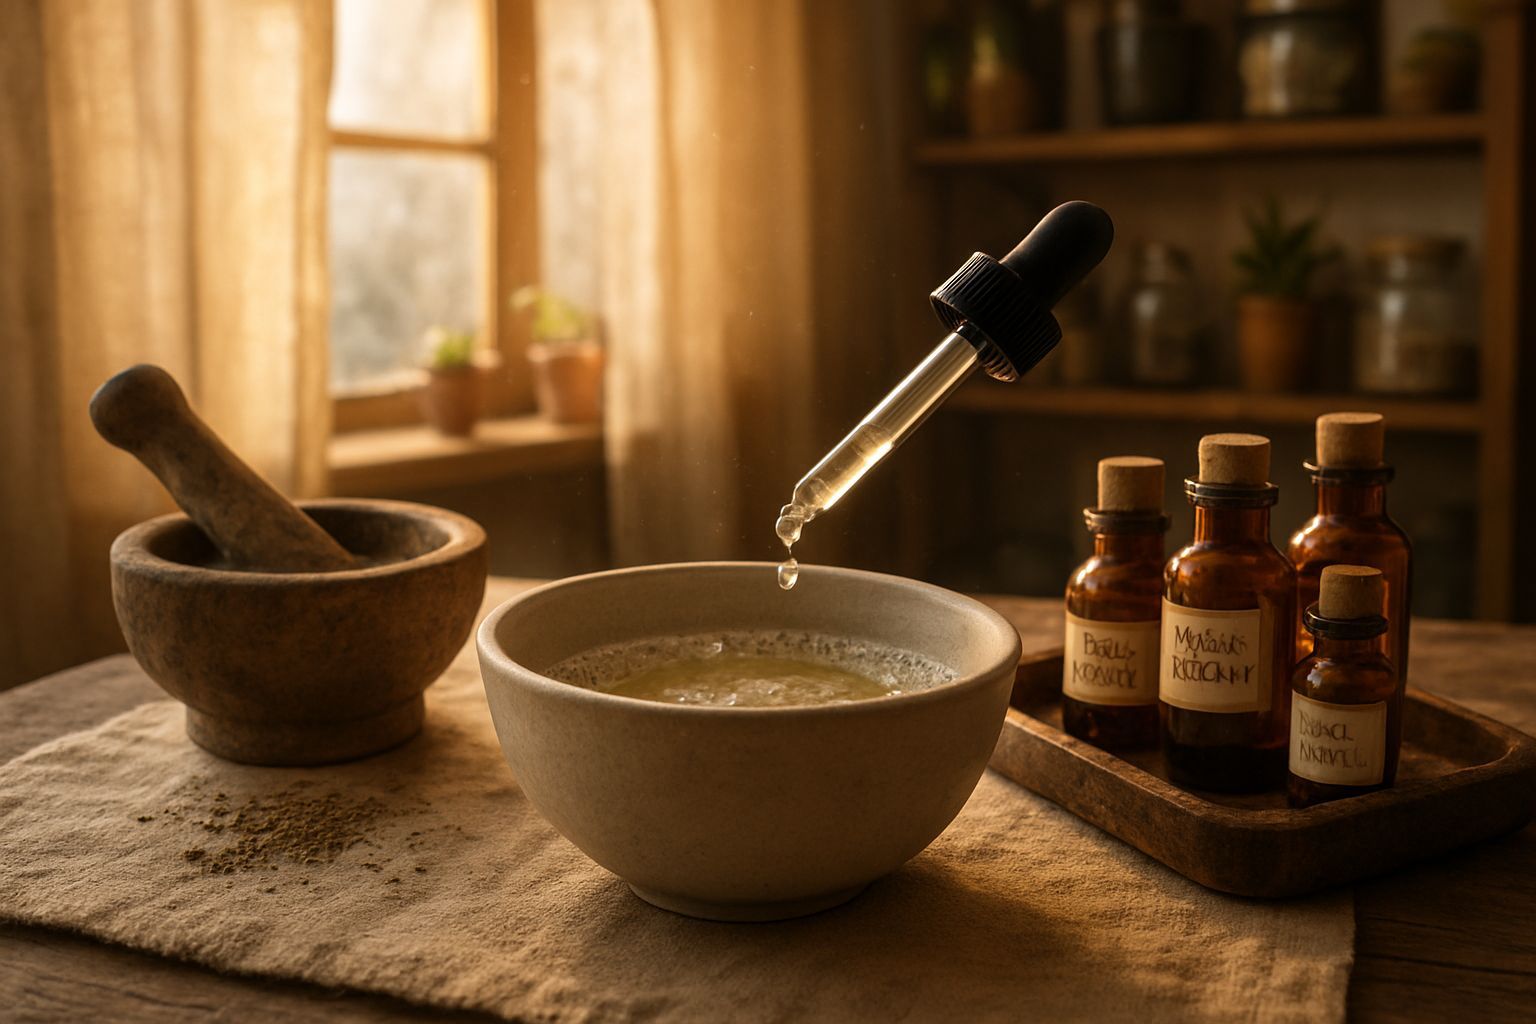
Step 2: Combine the Base Ingredients
In a small mixing bowl, combine the aloe vera gel, castor oil, and coconut oil. Stir gently until the mixture is smooth and well-blended. Aloe vera helps hydrate and soothe the skin, while castor oil is rich in ricinoleic acid, which promotes hair growth. Coconut oil adds moisture and strengthens the hair follicles.
Assembly
Step 3: Add Essential Oils (Optional)
If using essential oils, add 1-2 drops of rosemary oil (known for stimulating hair growth) and 1-2 drops of lavender oil (for calming and anti-inflammatory benefits). Stir the mixture gently to distribute the oils evenly. Be cautious with the amount, as too much essential oil can irritate the skin.
Step 4: Transfer to a Dropper Bottle
Using a clean dropper or spoon, carefully transfer the serum into your dropper bottle. Seal the bottle tightly and store it in a cool, dark place to preserve its potency. The serum should last for about 1-2 months if stored properly.
Mistakes to Avoid
To ensure the best results, avoid these common mistakes:
- Using expired or low-quality oils: Always opt for cold-pressed, organic oils to maximize benefits.
- Applying too much serum: A little goes a long way. Over-application can lead to clogged pores or irritation.
- Skipping patch tests: Before full application, test the serum on a small area of your skin to check for allergies.
- Storing improperly: Keep the serum away from direct sunlight and heat to prevent degradation.
Pro Tips
For the best results, follow these expert tips:
- Consistency is key: Apply the serum nightly for at least 4-6 weeks to see noticeable growth.
- Gentle application: Use a clean mascara wand or cotton swab to apply the serum to your lashes and brows. Avoid rubbing too hard.
- Combine with a healthy diet: Eating a balanced diet rich in vitamins (like biotin, vitamin E, and omega-3s) supports hair growth from within.
- Avoid eye contact: Be careful not to get the serum in your eyes, as it may cause irritation.
Conclusion
Creating your own lash and brow growth serum is a simple, cost-effective way to enhance your natural beauty. With just a few natural ingredients, you can nourish your lashes and brows while avoiding harsh chemicals. Remember to be patient—hair growth takes time, but with consistent use, you’ll see thicker, healthier lashes and brows in no time. Share your results with us on social media and tag #HomeReadyHub for a chance to be featured!