Hello, beautiful people! Sara here from HomeReadyHub, ready to dive into another exciting DIY project that promises to bring a touch of luxury and efficacy to your skincare routine. Today, we're tackling a powerhouse ingredient known for its incredible anti-aging benefits: hydrolyzed marine collagen. Instead of shelling out a fortune for high-end creams, why not create your very own bespoke formula right in your kitchen? This tutorial will guide you through crafting a revitalizing Crème collagène marin hydrolysé that will leave your skin feeling firmer, plumper, and more radiant. We’ll cover everything from selecting the right ingredients to the precise steps of emulsification, ensuring you create a professional-quality product safely and effectively. Get ready to unlock the secret to youthful, glowing skin!
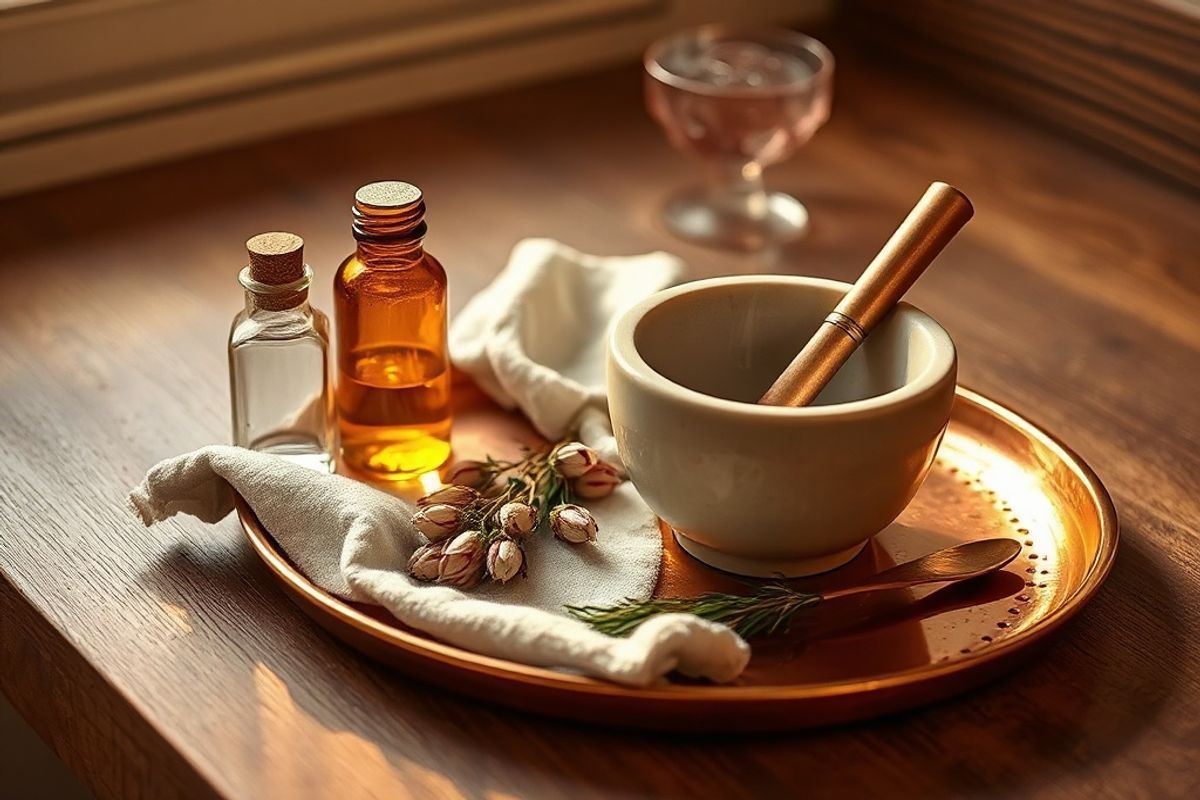
Materials needed
- **For the Water Phase:**
- 70g Distilled Water or Hydrosol (e.g., Rose, Lavender) – essential for purity and stability.
- 5g Vegetable Glycerin – a potent humectant that draws moisture into the skin.
- 2g Hyaluronic Acid (low molecular weight powder or solution) – for deep hydration and plumping.
- **For the Oil Phase:**
- 15g Carrier Oils (e.g., Jojoba Oil, Argan Oil, Rosehip Oil) – rich in vitamins and fatty acids, chosen for their skin-nourishing properties.
- 8g Emulsifying Wax NF (or similar complete emulsifier) – crucial for binding oil and water together into a stable cream.
- 2g Stearic Acid (or Cetyl Alcohol for added thickness/emollience) – provides stability and a luxurious skin feel.
- **For the Cool Down Phase (Additives):**
- 3g Hydrolyzed Marine Collagen Powder – the star ingredient, known for boosting skin elasticity and firmness.
- 1g Vitamin E Oil (Tocopherol) – an antioxidant that protects the skin and extends the shelf life of your cream.
- 0.5-1g Preservative (e.g., Liquid Germall Plus, Geogard ECT) – absolutely non-negotiable for safety and preventing microbial growth.
- 5-10 drops Essential Oils (optional, e.g., Frankincense, Geranium, Lavender) – for fragrance and additional skin benefits, choose wisely.
- pH adjusting solution (Lactic Acid or Sodium Bicarbonate solution) – to ensure the cream's pH is skin-friendly (typically 4.5-5.5).
- **Equipment:**
- Digital Scale (accurate to 0.01g) – precision is key in cosmetic formulation.
- Two Heat-Resistant Beakers or Pyrex Bowls – one for the water phase, one for the oil phase.
- Double Boiler Setup (a pot with simmering water and a heat-resistant bowl placed on top) – for gentle, even heating.
- Mini Whisk or Spatula – for mixing.
- Thermometer (digital or candy thermometer) – to monitor temperatures accurately.
- pH Strips or pH Meter – for checking and adjusting the final product's pH.
- Sterilized Airtight Containers (jars or pump bottles) – for storing your finished cream.
- Isopropyl Alcohol (70% or higher) – for sterilizing all equipment.
Preparation steps
Step 1: Sterilize and Prepare Your Phases
Before you begin, thoroughly sterilize all your equipment (beakers, whisks, containers) with isopropyl alcohol and let them air dry completely. This is a critical step to prevent contamination and ensure the longevity of your cream. Once sterilized, measure out your ingredients with precision using your digital scale. In your first heat-resistant beaker, combine the distilled water (or hydrosol), vegetable glycerin, and hyaluronic acid. This is your water phase. In your second heat-resistant beaker, combine your chosen carrier oils, emulsifying wax, and stearic acid. This is your oil phase. It's vital to measure accurately; even small deviations can affect the final texture and stability of your cream.
Step 2: Gently Heat Your Phases
Set up your double boiler. Place both the water phase beaker and the oil phase beaker into the double boiler. Begin to gently heat the water. The goal here is to bring both phases to approximately the same temperature, around 70-75°C (158-167°F). Heating them simultaneously ensures that when they are combined, they are at the optimal temperature for the emulsifying wax to work effectively. Stir each phase occasionally to help the ingredients dissolve and melt evenly. Keep a close eye on your thermometer. The emulsifying wax and stearic acid in the oil phase need to be fully melted and clear, and the hyaluronic acid in the water phase should be fully dissolved, creating a slightly viscous liquid. Patience is key during this step to ensure a smooth, stable emulsion later on.
Assembly
Step 3: Emulsification – Bringing it All Together
Once both phases have reached the target temperature (70-75°C) and the oil phase is completely melted, carefully remove both beakers from the double boiler. Now comes the magical part: emulsification. Slowly and steadily pour the hot oil phase into the hot water phase while continuously whisking. This slow addition combined with constant agitation is essential for creating a stable emulsion. Continue whisking vigorously for several minutes. You'll notice the mixture start to transform from a milky liquid into a thicker, more opaque cream. As it cools, the emulsion will continue to thicken. Continue whisking intermittently as the cream cools down, especially during the first 10-15 minutes, to ensure a uniform texture and prevent separation. This process helps the emulsifying wax create strong bonds between the oil and water molecules.
Step 4: Cooling Down and Adding Heat-Sensitive Ingredients
As your cream continues to cool, it will thicken further. Once the temperature drops below 40°C (104°F) – and ideally closer to 30-35°C (86-95°F) – it's time to add your heat-sensitive ingredients. This is crucial because high heat can degrade the efficacy of ingredients like hydrolyzed marine collagen, Vitamin E, and preservatives. Add the hydrolyzed marine collagen powder, Vitamin E oil, and your chosen preservative. If using optional essential oils, add them now as well. Stir thoroughly until all the new ingredients are fully incorporated and the cream is smooth and uniform. Finally, check the pH of your cream using pH strips or a pH meter. For skin compatibility, an ideal pH range is between 4.5 and 5.5. If your pH is too high, add a drop or two of lactic acid solution; if it's too low, use a very small amount of sodium bicarbonate solution, stirring well and re-checking after each addition until you reach the desired range. Once the pH is balanced, transfer your finished cream into your sterilized airtight containers.
Mistakes to avoid
- **Skipping the Preservative:** This is perhaps the most critical mistake. Without a broad-spectrum preservative, your homemade cream will be a breeding ground for bacteria, mold, and yeast within days, posing a significant health risk to your skin. Always include a reliable preservative at the recommended usage rate.
- **Incorrect Measurements:** Cosmetic formulation is a science. Eyeballing ingredients or using inaccurate scales can lead to an unstable emulsion, a greasy texture, or a cream that simply doesn't work as intended. Invest in a precise digital scale.
- **Adding Heat-Sensitive Ingredients Too Soon:** Ingredients like hydrolyzed collagen, Vitamin E, and essential oils can degrade or lose their potency when exposed to high temperatures. Always wait until your emulsion has cooled significantly (below 40°C) before adding them.
- **Insufficient Whisking During Emulsification:** A weak or unstable emulsion is often the result of not whisking thoroughly enough when combining the oil and water phases. Consistent, vigorous whisking is vital for the emulsifying wax to form a stable bond.
- **Ignoring pH Adjustment:** The pH of your cream directly impacts its effectiveness, stability, and safety for your skin. Skin-friendly pH is crucial. Always check and adjust the pH to the optimal range of 4.5-5.5.
- **Using Tap Water:** Tap water contains minerals and microbes that can destabilize your emulsion and introduce contaminants. Always use distilled water or a high-quality hydrosol for the water phase.
- **Poor Sterilization Practices:** Any contamination introduced during the making process can quickly spoil your cream, even with a preservative. Sterilize all equipment and containers thoroughly with isopropyl alcohol.
Pro tips
- **Embrace Sterilization:** I cannot stress this enough. Cleanliness is next to godliness in DIY skincare. Not just equipment, but also your workspace and hands should be pristine. Wear gloves if possible.
- **Patch Test Always:** Before applying any new product, especially a DIY one, to your entire face, perform a patch test on a small, inconspicuous area of your skin (like behind your ear or on your inner arm). Wait 24-48 hours to check for any adverse reactions.
- **Customize Your Oils:** Don't be afraid to experiment with different carrier oils based on your skin type and concerns. Oily skin might prefer lighter oils like grapeseed or squalane, while dry skin benefits from richer oils like avocado or shea butter.
- **Storage Matters:** Store your finished cream in airtight, opaque containers, ideally in a cool, dark place or even the refrigerator. This helps maintain its stability and extends its shelf life, which is typically 3-6 months with a good preservative.
- **Consistency Check:** If your cream is too thick, you can slightly reduce the amount of emulsifying wax or stearic acid in future batches. If it's too thin, increase them slightly. Keep a detailed log of your formulations to track what works best.
- **Understanding Your Ingredients:** Take the time to research each ingredient you use. Knowing its function, recommended usage rate, and potential interactions will empower you to create safer and more effective formulations.
- **Start Small:** When trying a new recipe or ingredient, make a smaller batch first. This minimizes waste if the formulation doesn't turn out as expected or if your skin doesn't react well to an ingredient.
And there you have it, HomeReadyHub family! Your very own luxurious Crème collagène marin hydrolysé, crafted with care and precision by your own hands. This DIY approach not only saves you money but also gives you complete control over the ingredients, ensuring purity and potency tailored to your skin's needs. Enjoy the process of creating, and even more, enjoy the benefits of firmer, more youthful-looking skin. Remember to always prioritize safety through proper sterilization and preservation. Happy crafting, and here's to a radiant, confident you!
