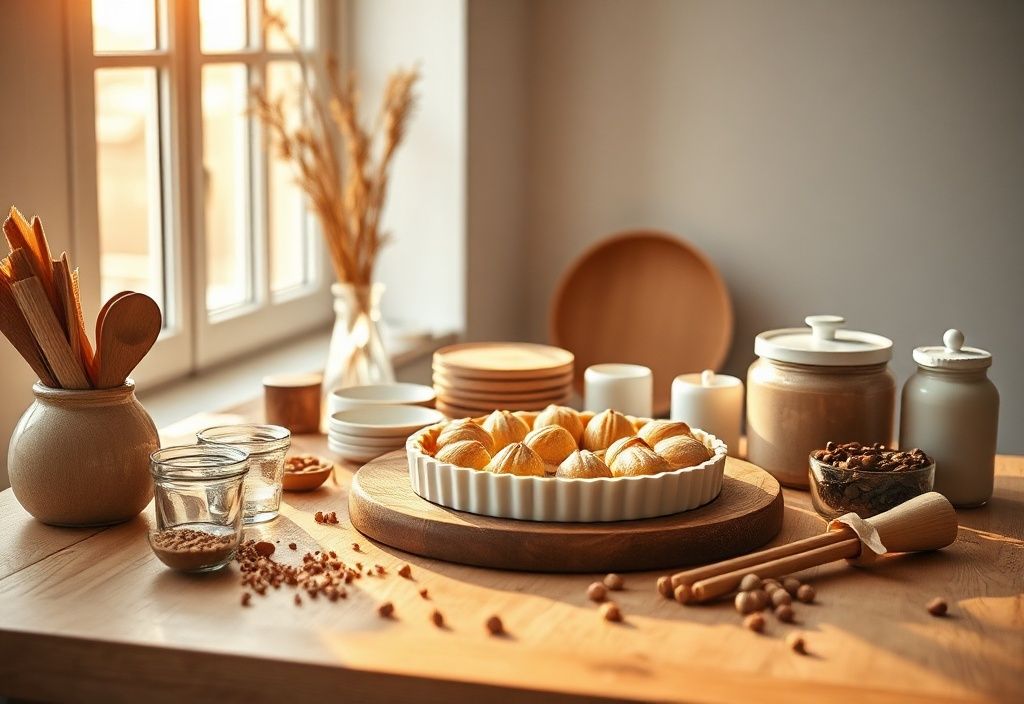
Welcome to HomeReadyHub! Today, we're diving into a project that will elevate your home baking and presentation game: building your very own elegant pie display case, or as the French beautifully call it, a "Présentoir Tarte Vitrine Maison." Imagine your freshly baked apple crumbles, lemon meringues, or savory quiches showcased under a pristine dome, protected from curious hands (and flies!) while still being the star of your kitchen or dining room. This DIY project is not just about functionality; it's about adding a touch of rustic charm and sophistication to your culinary creations. Whether you're a seasoned baker looking for a better way to display your masterpieces or a beginner wanting to add a professional touch to your home, this tutorial is designed for you. We'll guide you through each step, from gathering materials to the final assembly, ensuring you create a display case that's both beautiful and sturdy. Let's get started on transforming your kitchen into a patisserie!
Materials needed
- Wood for the base: A circular or square piece of hardwood (oak, maple, cherry) or a good quality plywood, 1/2 inch to 3/4 inch thick, with a diameter/side length of at least 12-14 inches (30-35 cm) to accommodate most pie plates.
- Clear acrylic dome: A food-safe, clear acrylic or polycarbonate dome. Ensure its diameter is slightly smaller than your wood base to allow for a lip, and tall enough to clear your tallest pie, typically 6-8 inches (15-20 cm) in height.
- Wooden knob/handle: A small, decorative wooden knob for the top of the dome.
- Wood glue: Strong, water-resistant wood glue.
- Wood finish: Food-safe wood oil (e.g., mineral oil, butcher block oil) or a non-toxic, clear varnish/polyurethane.
- Sandpaper: Assorted grits (100, 150, 220) for smooth finishing.
- Drill with appropriate bits: A small bit for pilot holes and a larger bit (or spade bit/Forstner bit) for the dome attachment, if needed.
- Screwdriver: To attach the knob.
- Clamps: Wood clamps or heavy objects for holding glued pieces.
- Pencil and ruler/compass: For marking and measuring.
- Protective gear: Safety glasses, gloves.
- Optional: Router with a round-over bit for decorative edge on the base, felt pads for the bottom of the base.
Preparation steps
Step 1: Preparing the Wood Base
The foundation of your pie display case is the wood base. If you've purchased a pre-cut wooden circle or square, you can skip some of the initial cutting. However, if you're starting with a larger piece of wood, begin by marking out your desired shape and size. A compass is excellent for drawing perfect circles. Use a jigsaw or band saw to carefully cut out your base. Once cut, the most important part of this step is sanding. Start with a coarser grit sandpaper (100 or 120) to remove any saw marks and shape the edges. Gradually move to finer grits (150, then 220) for a silky smooth finish. Pay close attention to the top and edges, as these will be most visible. If you have a router, now is the time to add a decorative edge like a round-over or chamfer to the top perimeter of the base. This adds a professional and finished look. After sanding, wipe away all dust with a tack cloth or a slightly damp cloth and let it dry completely.
Step 2: Finishing the Wood Base
With the base smooth and clean, it's time to apply the protective finish. For a food-safe display, a good quality mineral oil or butcher block oil is highly recommended. These penetrate the wood, bringing out its natural beauty and protecting it from moisture without introducing harmful chemicals. Apply the oil liberally with a clean cloth, allowing it to soak in for 20-30 minutes. Wipe off any excess and buff gently. For a more durable, sealed finish, you can opt for a food-safe clear varnish or polyurethane. Apply thin, even coats according to the product's instructions, allowing adequate drying time between coats and light sanding with a super-fine grit (320-400) between coats for a smoother result. Always ensure the finish is completely cured and food-safe before placing any food on it. This might take several days, so plan accordingly. If using felt pads, attach them to the bottom of the base after the finish has fully cured to prevent scratching surfaces.
Assembly
Step 3: Attaching the Handle to the Dome
This step requires precision. First, locate the center of the top of your acrylic dome. You can do this by measuring across the diameter in several directions and marking the intersection, or by using a circular template. Once the center is marked, carefully drill a pilot hole through the acrylic. Start with a very small bit and increase the size gradually until it's just large enough for the screw from your wooden knob to pass through, or for the knob's threaded post to screw into. When drilling acrylic, use a slow speed and apply light pressure to prevent cracking. It's also helpful to place a piece of scrap wood underneath the dome where you're drilling to provide support. Once the hole is drilled, attach the wooden knob using its accompanying screw or by carefully twisting a threaded knob into place. Do not overtighten, as this can crack the acrylic. Ensure the knob is securely fastened but not stressed.
Step 4: Final Assembly and Inspection
With the handle securely attached to the dome and the wood base fully cured, the final assembly is straightforward. Simply place the assembled dome onto the finished wood base. Ensure the dome sits evenly and comfortably within the slight lip provided by the larger base. Take a moment to inspect your work. Check for any wobbles in the dome or base. Ensure the wooden handle is firmly attached. Wipe down both the acrylic dome and the wood base with a clean, soft cloth to remove any fingerprints or dust. Your elegant Présentoir Tarte Vitrine Maison is now complete and ready to proudly display your delicious pies, cakes, cookies, or any other baked goods you wish to showcase! This display case will not only keep your treats fresh longer but also add a touch of professional bakery charm to your home.
Mistakes to avoid
- Skipping proper sanding: A rough base will not only look unfinished but can also splinter or be difficult to clean. Invest time in progressive sanding.
- Using non-food-safe finishes: Always ensure any stain, oil, or varnish used on the wood base is certified food-safe, especially since it will be in close proximity to food.
- Overtightening screws on acrylic: Acrylic is brittle and can crack easily if screws are overtightened. Hand-tighten just enough for security.
- Drilling acrylic incorrectly: High speed or excessive pressure can cause the acrylic to melt, crack, or chip. Use slow speeds and sharp bits.
- Not letting finishes cure: Rushing the curing process for wood finishes can lead to lingering odors, stickiness, or even transfer of chemicals to food. Read product instructions carefully for curing times.
- Choosing an ill-fitting dome: Ensure the dome diameter is slightly smaller than the base for a good fit and that its height accommodates your tallest baked goods.
Pro tips
- Consider wood type: Hardwoods like oak, maple, or cherry are more durable and beautiful for this project. If using plywood, choose a high-quality, cabinet-grade plywood with a nice veneer.
- Router for perfection: If you have a router, using a round-over bit on the top edge of the base elevates the professional look significantly. A small chamfer bit also works well.
- Test drill on scrap acrylic: If you're new to drilling acrylic, practice on a small scrap piece first to get a feel for the material.
- Customization options: Don't be afraid to personalize! You could paint the wooden knob, add a small engraved plaque to the base, or even choose a colorful acrylic dome if you want a more modern look.
- Maintenance for longevity: To keep your display case looking its best, regularly re-oil the wood base (if using oil finish) and clean the acrylic dome with a soft cloth and mild, non-abrasive cleaner. Avoid harsh chemicals that can scratch or fog acrylic.
- Versatility: While designed for pies, this display case is also perfect for cakes, cupcakes, cookies, cheese boards, or even small decorative arrangements.
- Gift idea: A handmade pie display case makes an incredibly thoughtful and unique gift for the baker in your life!
And there you have it! Your very own Présentoir Tarte Vitrine Maison, a testament to your DIY skills and a beautiful addition to your home. This project is not just about creating a functional item; it's about adding a touch of elegance and pride to your baking endeavors. Imagine the smiles when you present your next homemade pie under this beautiful dome. At HomeReadyHub, we believe in empowering you to create items that enhance your living space, and this pie display case is a perfect example of combining practicality with aesthetics. Enjoy your baking, enjoy your display, and keep creating!
