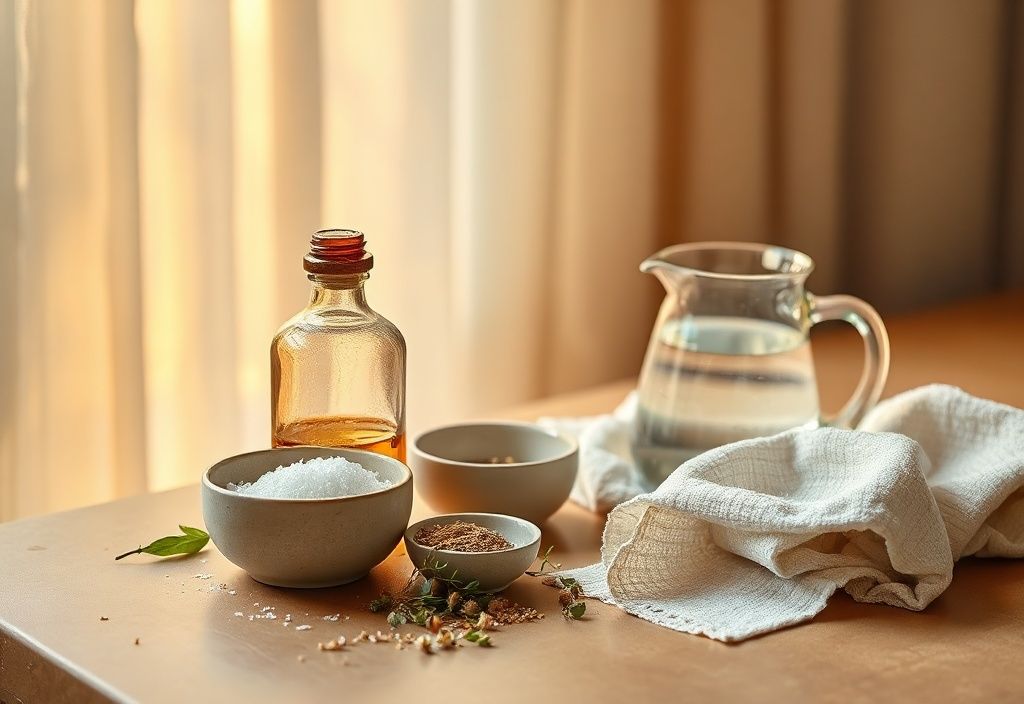
Keeping your car clean not only enhances its appearance but also protects its paint and finish from contaminants, UV damage, and premature wear. While commercial car shampoos are convenient, many contain harsh chemicals, synthetic fragrances, and unnecessary additives that can harm your vehicle’s surface over time—and your wallet in the long run.
That’s why making your own DIY car wash shampoo at home is a smart, cost-effective, and eco-conscious alternative. With just a few natural, biodegradable ingredients, you can create a powerful cleaning solution that safely removes dirt, grime, and road film while being gentle on the environment and your car’s finish.
In this comprehensive guide, we’ll walk you through a simple, effective DIY car wash shampoo recipe that’s easy to make, safe for all paint types, and delivers professional-level results. Whether you're a detailing enthusiast or a first-time car owner, this homemade shampoo will transform your washing routine.
Materials Needed
- Castile soap (unscented or lightly scented) – ½ cup (120 ml) – A biodegradable, gentle cleanser that lifts dirt without stripping wax or sealants.
- Distilled water – 4 cups (950 ml) – Prevents mineral deposits that can leave spots or dull the paint.
- White vinegar (optional) – ¼ cup (60 ml) – Helps break down hard water stains, salt deposits, and soap residue. Skip if your water is soft.
- Washing soda (sodium carbonate) – 1 tablespoon (15 g) – Boosts cleaning power and helps emulsify grease and oil. Use sparingly to avoid alkaline buildup.
- Essential oils (optional) – 10–15 drops – Adds a light fragrance and offers mild antibacterial properties. Tea tree, lavender, or lemon oils work well.
- Spray bottle (1-liter capacity) or bucket – For mixing and application. A spray bottle is ideal for quick touch-ups or foam cannons.
- Measuring cups and spoons – For precise mixing.
- Funnel (optional) – Helps transfer the mixture without spills.
Note: Avoid using dish soap (like Dawn) or household cleaners—they can strip protective coatings and strip wax or sealants from your paint.
Preparation Steps
Step 1: Choose Your Base
Decide whether to make a bucket mix or a spray-ready solution:
- For bucket washing: Mix all ingredients in a large bucket.
- For spray application (foam cannon or pre-wash): Use a spray bottle for convenience and better coverage.
Step 2: Mix the Ingredients
In a clean container (bucket or spray bottle), combine the ingredients in this order for best results:
- Add distilled water first – this prevents reaction with other ingredients and ensures even mixing.
- Mix in washing soda – stir until fully dissolved. This helps lift grease and grime.
- Add Castile soap – mix gently to avoid excessive suds, which can be hard to rinse off.
- Incorporate white vinegar (if using) – stir slowly to prevent foaming. Vinegar balances pH and softens hard water.
- Add essential oils (optional) – mix well to distribute scent evenly.
- Let the mixture sit for 10–15 minutes before using. This allows the washing soda to fully integrate and enhances effectiveness.
Tip: If using a spray bottle, shake well before each use to prevent separation.
Assembly
Step 3: Apply the Shampoo
Whether using a bucket or spray method, follow these steps:
- Pre-rinse your car – Use a hose with a gentle spray nozzle to remove loose dirt and debris. Avoid high pressure that can scratch the paint.
- Wash in sections – Start from the top and work your way down to prevent dirt from dripping onto clean areas.
- Dip your wash mitt or sponge into the shampoo solution (bucket method) or spray directly onto the paint (spray method).
- Gently scrub in straight lines – Use a high-quality microfiber wash mitt or soft sponge. Avoid circular motions, which can create swirl marks.
- Rinse thoroughly – Use clean water to remove all soap residue. Lingering soap can dull the paint and attract more dirt.
Step 4: Final Touches
After washing:
- Use a clean microfiber towel to dry the car, patting rather than dragging to avoid scratches.
- Apply a quick detailer or spray wax for added shine and protection (optional).
- Store your leftover shampoo in a cool, dark place. It will last for up to 2–3 weeks in a spray bottle or 1 month in a sealed bucket in the fridge.
Mistakes to Avoid
- Using tap water with high mineral content – This can leave water spots, especially in hard water areas. Always use distilled water.
- Overusing washing soda – Too much can increase pH and potentially damage paint or strip sealants. Stick to 1 tablespoon per 4 cups of water.
- Skipping the pre-rinse – Dirt on the surface can scratch the paint during washing. Always rinse first.
- Letting soap dry on the paint – Always rinse thoroughly and dry with a clean towel.
- Reusing dirty wash water – This spreads dirt and contaminants. Change water frequently, especially after cleaning wheels or lower panels.
Pro Tips
- Customize for tough grime: Add 1 tablespoon of baking soda for extra cleaning power on greasy areas like the engine bay or wheel wells. Avoid using on paint.
- Use a foam cannon: Dilute the shampoo 1:10 with water for optimal foam generation in a foam cannon or pressure washer foam applicator.
- Test on a small area first: If you’re unsure about your paint’s compatibility, test the shampoo on an inconspicuous area (like the lower door jamb) before full application.
- Store properly: Keep your shampoo away from direct sunlight and heat to preserve its effectiveness.
- Pair with a grit guard: Use a grit guard in your wash bucket to trap dirt at the bottom, preventing it from being picked up by your wash mitt.
- Go eco-friendly: This shampoo is biodegradable and safe for plants, making it ideal for outdoor washing without harming your driveway or local water systems.
Pro Tip: For a ceramic-coated car, reduce washing soda to ½ tablespoon and avoid vinegar to preserve the coating’s longevity.
Why This Recipe Works:
- Castile soap cleans effectively without stripping wax or protective layers.
- Washing soda acts as a degreaser and water softener.
- Vinegar neutralizes alkaline residues and softens hard water.
- Distilled water eliminates the risk of mineral deposits.
By using this homemade shampoo, you’re not only saving money but also reducing plastic waste and exposure to harsh chemicals—making it a win for both your car and the planet.
Final Thoughts:
Making your own car wash shampoo is a simple, rewarding process that offers superior results while being kind to your car and the environment. With just five basic ingredients and minimal effort, you can create a powerful cleaning solution that rivals commercial products—at a fraction of the cost.
Try this DIY recipe today and experience the difference of a clean, streak-free, and brilliantly shiny car—all while knowing exactly what’s going onto your vehicle’s surface. Happy washing!
